












































































































































































































































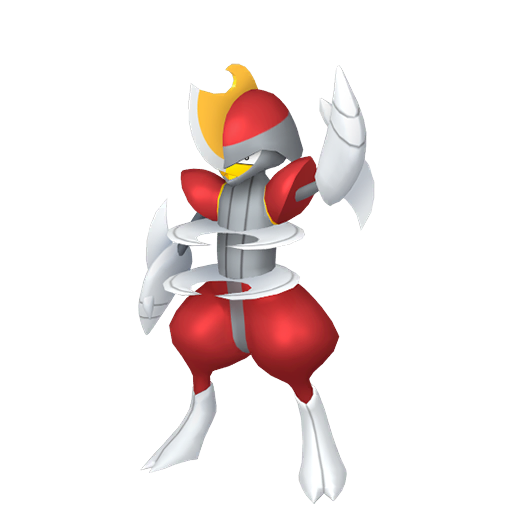


























































































































































What it does
Endure guarantees the user survives any single hit on that turn at exactly 1 HP. Priority +4 means it moves before nearly every damaging move. The hard limit: used in consecutive turns, the second use fails — treat it as a guaranteed fail and never plan around it twice.
The raw "don't faint" effect is not the point. Endure is a precision trigger for three specific payoffs:
Pinch damage moves. Flail and Reversal reach 200 base power at 1 HP (HP ≤ 6.25% bracket). With STAB ×1.5 on top: a Snorlax running max Attack Stat Points and Return does solid damage at full HP (~150 equivalent base), but Flail at 1 HP calculates at 200 base × 1.5 STAB — the math roughly triples the effective power on that turn. Physical attackers that would otherwise grind through a healthy target now delete it outright.
Pinch berries. Salac Berry, Liechi Berry, and Custap Berry all activate at HP ≤ 25%. At 1 HP you always meet that threshold. The Speed math matters: a Pokémon with 100 base Speed hits roughly 145 at Lv50 with full Stat Points. After Salac Berry, that becomes ~217 — enough to outspeed uninvested base-130 Speed Pokémon (~189), though it falls short of Choice Scarf users on base 100+. Know your tier before committing.
Belly Drum safety net. Belly Drum costs half your HP for +6 Attack. At 50% HP opponents may not cleanly one-shot you — Endure on the next turn absorbs that attack, leaves you at 1 HP, and your +6 Attack survives into the following turn to sweep.
Focus Sash does the same survive-on-1-HP thing but is consumed after one use. Endure trades a move slot for a free item slot — it's a different slot economy, not a straight replacement.
Who runs it
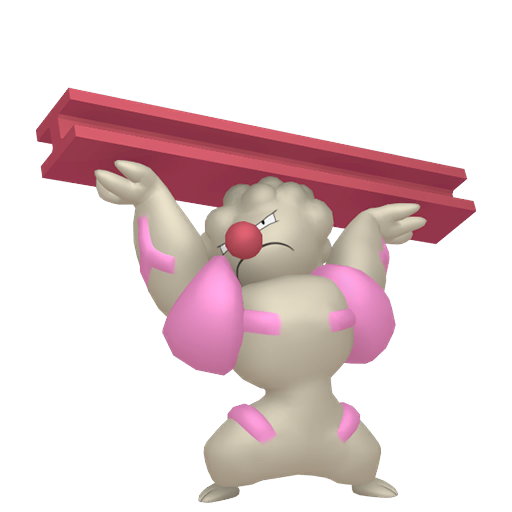
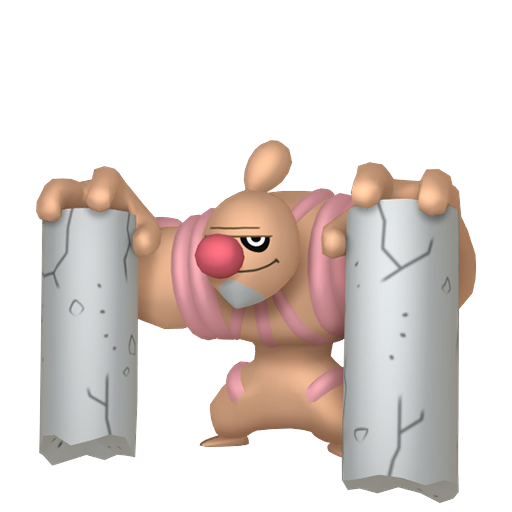
Physical pinch sweepers — the Endure + Flail/Reversal core
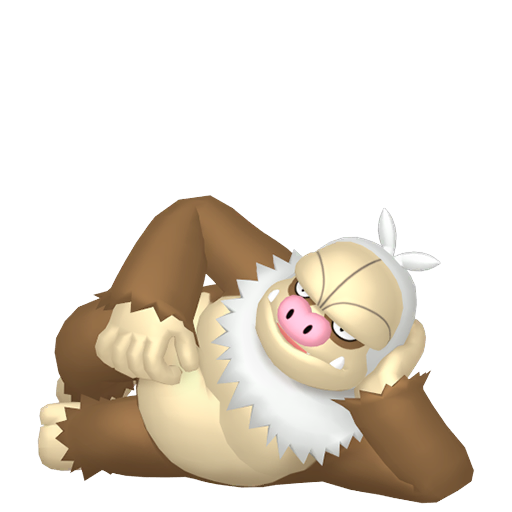
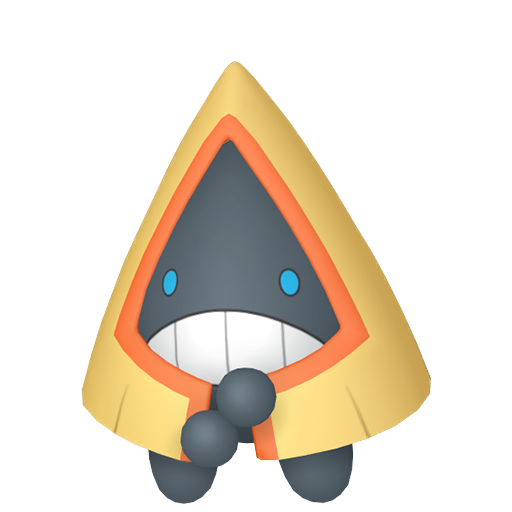
Snorlax is the textbook case. Its base 160 HP means opponents typically need a genuine KO move to drop it from 50% in one shot, which is a predictable threat to play around. Belly Drum T1, Endure T2, then Return or Flail T3 is the three-turn kill sequence — reliable precisely because Snorlax's bulk makes the 50%-HP window survivable most of the time.
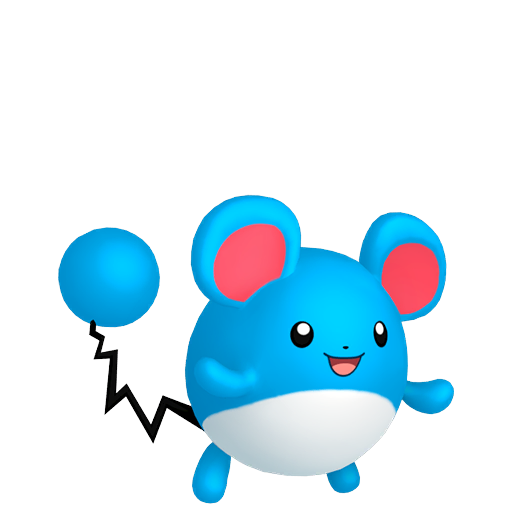
Azumarill runs the same skeleton differently. Huge Power doubles its attack stat, so after Belly Drum the damage output is already obscene. It often pairs Endure with Liechi Berry (Attack +1 on top of +6) or Salac Berry since its Aqua Jet at priority +1 can clean at 1 HP even if the Speed boost isn't needed. Versatile pinch kit.
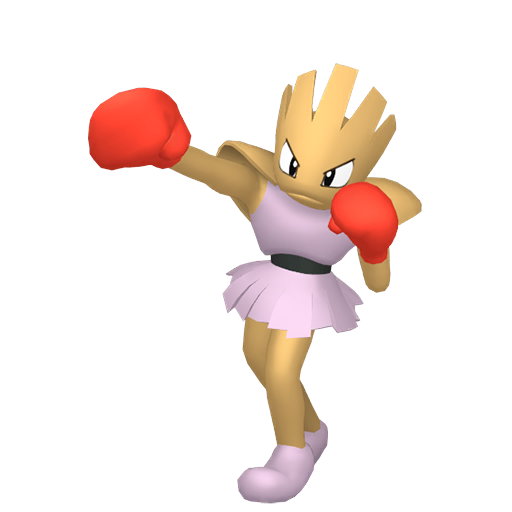
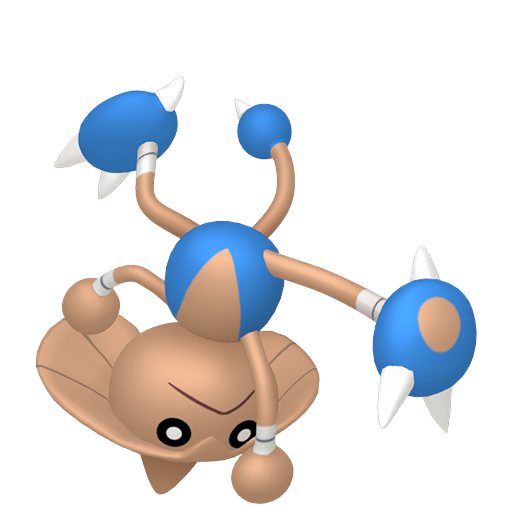
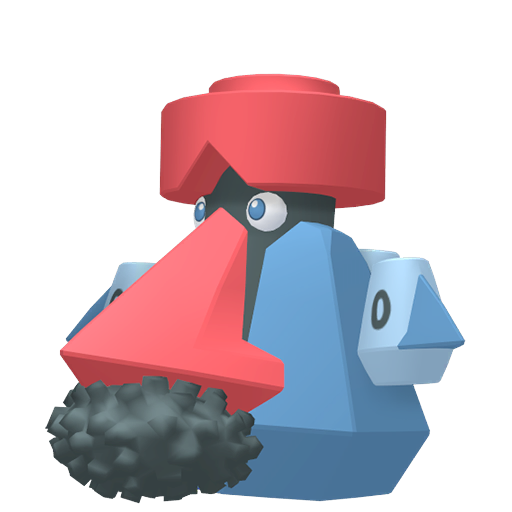
Poliwrath brings wide type coverage with Fighting STAB. Reversal at 200 base hits things Flail can't, and Water/Fighting coverage ensures it isn't walled by a single resist.
Speed threshold runners — Salac Berry chasers
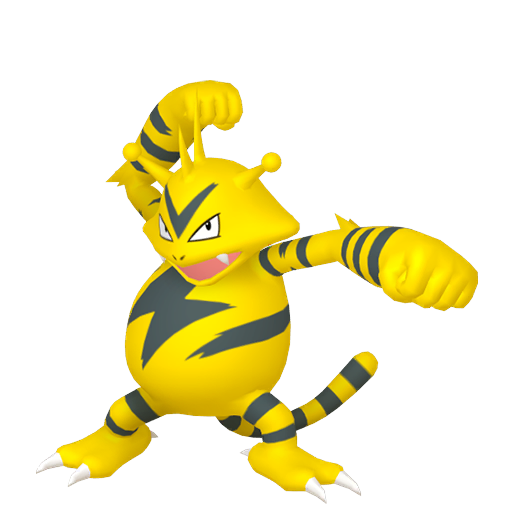
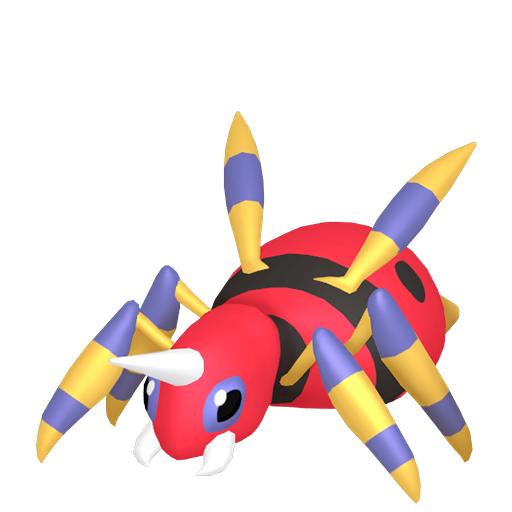
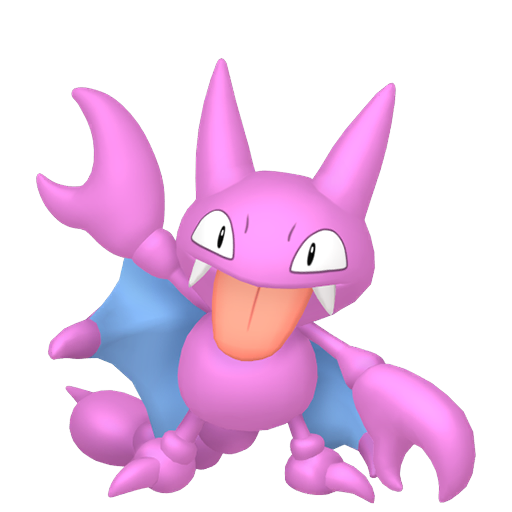
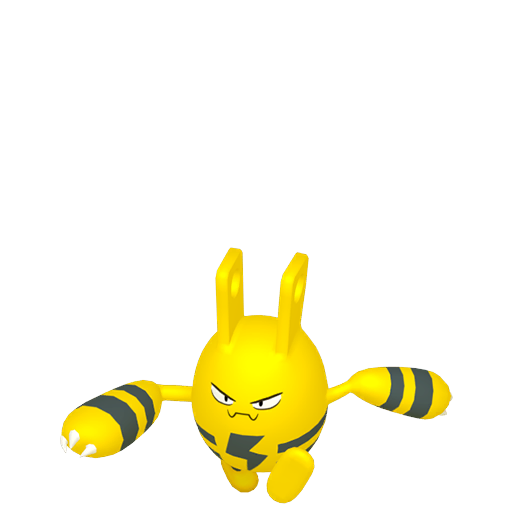
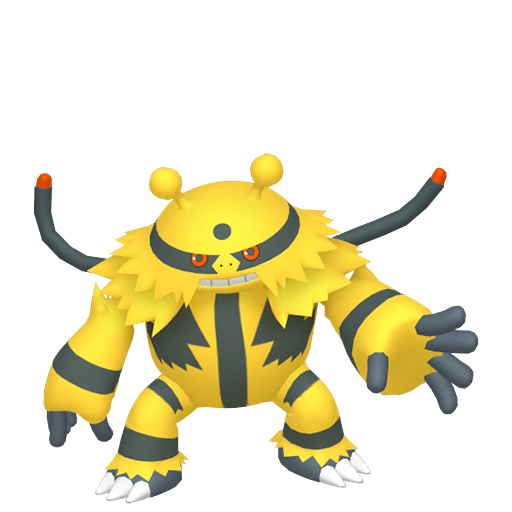
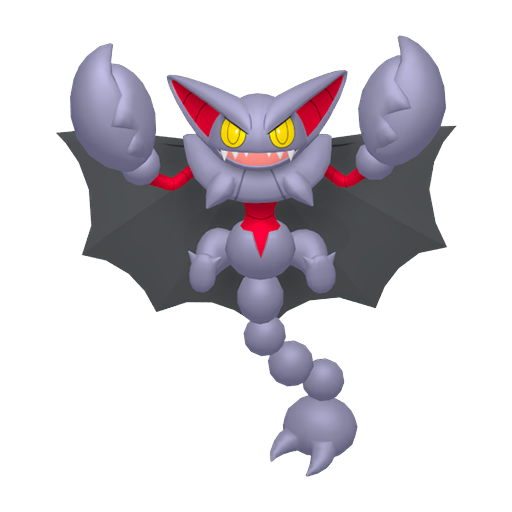
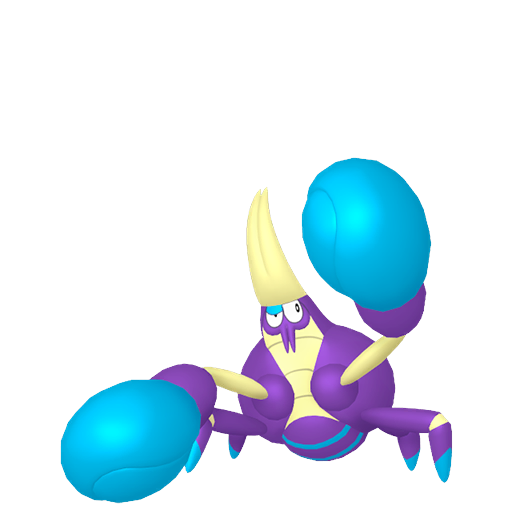
Electrode already sits at 140 base Speed but gets revenge-killed by Choice Scarf users above base 93 Speed. After Salac Berry from Endure, it clears nearly every non-Scarfed tier. Crobat runs the same math — high natural Speed plus Poison STAB pressure makes the triggered boost decisive.
Doubles support — Custap Berry priority guarantee
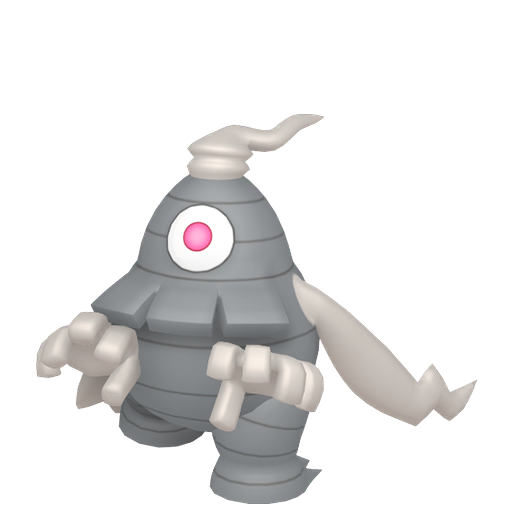
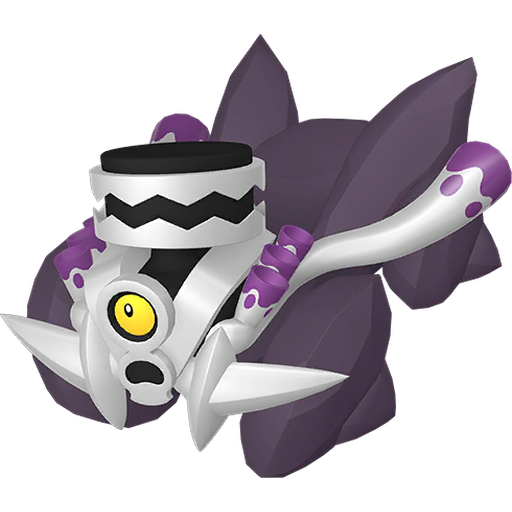
Dusclops is near-unkillable defensively. With Custap Berry at 1 HP, its next move acts at +1 priority. That turns Trick Room — normally −7 priority — into a move that goes before everything except other extreme-priority effects. Getting Trick Room up under pressure is the whole plan, and Endure is what sets up the berry trigger.
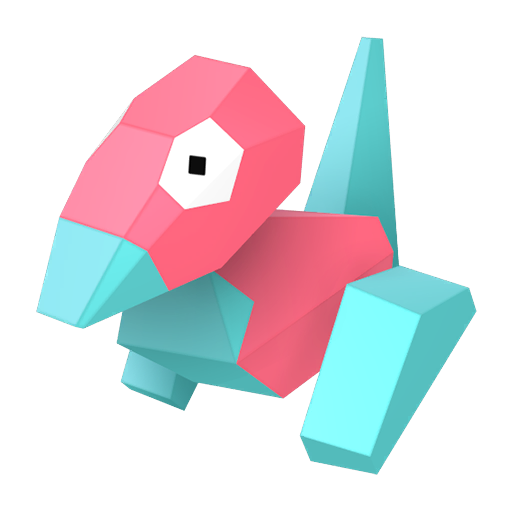
Porygon2 uses the same framework: stay alive long enough to get Custap Berry active, then guarantee one last Trick Room or Recover cycle before going down.
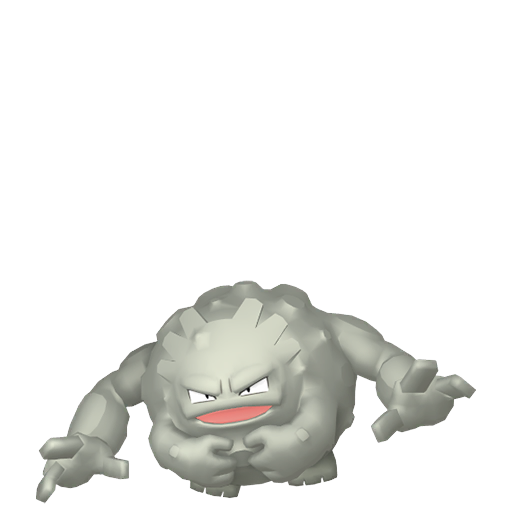
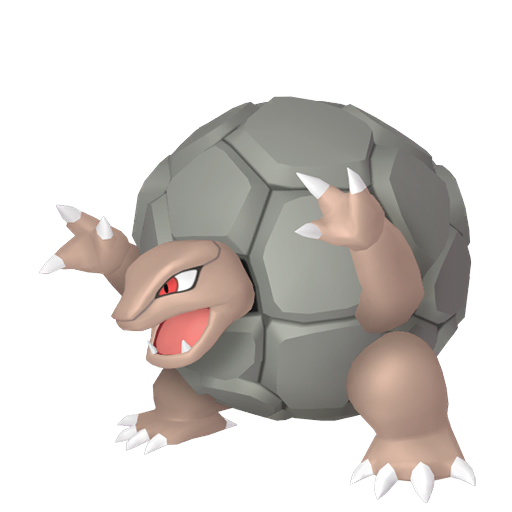
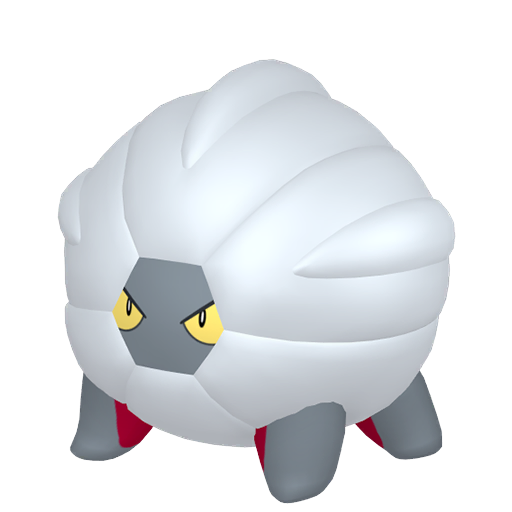
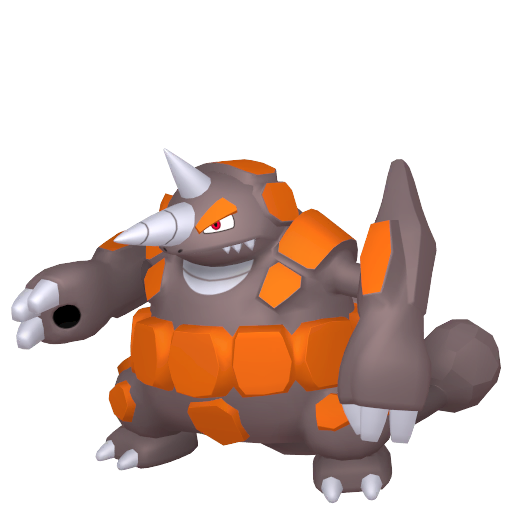
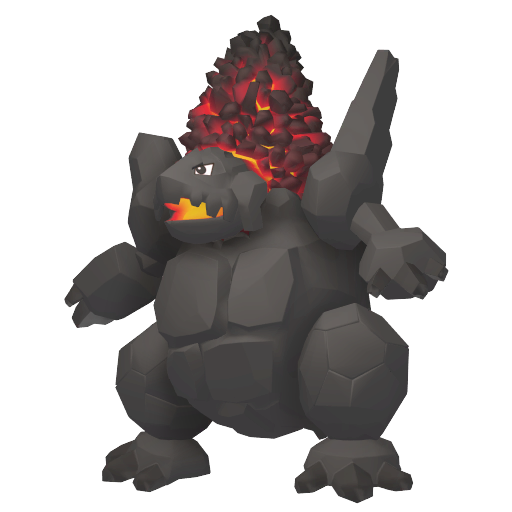
Who skips this entirely: Pokémon with Sturdy (Shuckle, Aggron, Golem) already have the effect built in for free. Using Endure alongside Sturdy wastes a move slot on a redundant effect.
How to use it
Singles (Singles) core sequence:
T1 Belly Drum — Attack +6, HP drops to 50%. T2 Endure at priority +4 — opponent's hit lands, you're at 1 HP, Salac Berry fires (+1 Speed). T3 Flail at 200 base power + STAB. Most targets don't survive.
The decision point is T2. Ask one question: does the opponent have a move that one-shots me from 50% HP? If the answer is no — because they switched in a wall, or their attacker simply doesn't have the power — Endure on T2 wastes your turn for nothing. You should be attacking. Endure is only worth playing when a KO is certain.
If the opponent reads your T2 Endure and switches into a check that doesn't KO you, you've also lost a turn. In that case T3 you can still hit or pivot — the +6 Attack is still live — but you've burned one extra turn getting there.
Doubles (Doubles) works differently:
Spread moves in doubles deal 0.75× damage per target. That often means neither slot one-shots you, making Endure harder to time reliably. The main use case in doubles is the Custap Berry support line — let Dusclops or Porygon2 hit 1 HP through Endure, trigger the berry, and guarantee Trick Room goes out at +1 priority on the following turn.
For sweepers in doubles, Follow Me or Rage Powder redirecting the KO threat onto a partner is usually cleaner than Endure — the sweeper doesn't burn a turn, and the partner either takes the hit with leftover bulk or sacrifices intentionally.
Tips & strategy
The beginner mistake: using Endure when you're not in KO range. The most common error is firing Endure "just in case" at 50% HP or higher when the opponent doesn't have a move that KOs. You donate a full turn, the opponent adjusts — switches, sets up, or loads the right move — and your entire plan is now a turn behind. The rule: only use Endure when the opponent in front of you demonstrably has a KO. If you need to scout first, scout.
Never try to chain it. Turn 1 succeeds. Turn 2 back-to-back fails. There is no "survive two hits in a row via Endure" plan — it doesn't exist in competitive play.
What shuts it down:
-
End-of-turn chip damage (the most dangerous counter): Burn and poison damage resolve after the turn's attack phase — after Endure's protection has expired. You survive the attack, then burn deletes that 1 HP. The result is an immediate KO despite Endure working correctly. A burned or badly poisoned Pokémon should never use this strategy. In Champions, paralysis is 12.5% full-stop chance (Speed still halved), Sleep caps at 3 turns, and Freeze has a 25% thaw chance per turn with a 3-turn cap — but burn and poison residual damage are unchanged. That 1 HP still dies.
-
Multi-hit moves: Rock Blast, Double Hit, Bullet Seed — each hit resolves separately. Endure keeps you alive through the first hit; the second connects at 1 HP and KOs. Against known multi-hit users, don't play Endure at all.
-
Taunt: Endure is a status move. Under Taunt it's blocked entirely. If the opponent carries Taunt, your setup window is gone and you need an alternate game plan — usually switching to a different threat or accepting the loss of the setup turn.
-
Priority moves don't actually beat Endure itself: Mach Punch and Bullet Punch are priority +1. Endure is +4 — it still goes first and protects you on that turn. The danger from priority attackers comes on the following turn, when you're sitting at 1 HP and they're faster than your pinch move or berry boost allows.
Run the Speed numbers before building the set. With Stat Points capped at 32, Speed tiers are fixed. Salac Berry's +1 Speed boost is worth nothing if the revenge killer you're trying to escape is still faster after the boost. Calculate the actual Speed value you land on post-berry, compare it to the threats you expect on the Ranked Battles ladder, and only commit to the Endure + Salac Berry line if the math puts you clear of those threats. If it doesn't, Liechi Berry or a completely different strategy is the honest answer.