















































What it does
Calm Mind raises both Sp. Atk and Sp. Def by one stage each. The raw math: +1 Sp. Atk multiplies your damage output by 1.5×; +1 Sp. Def reduces incoming special damage to roughly 66% of the original value.
Here's what that means in practice. Champions Stat Points are capped at 32 per stat — spreads run lean compared to the 252-EV mainline game, so special bulk is often right on the edge. If an opposing special attacker is hitting you for a clean 2HKO (both hits land for KO), one layer of Calm Mind can push that to a 3HKO. Your opponent now needs an entire extra turn to finish you — and that extra turn is exactly when you grab a second layer or fire back. A single Calm Mind doesn't just change numbers, it changes who has initiative.
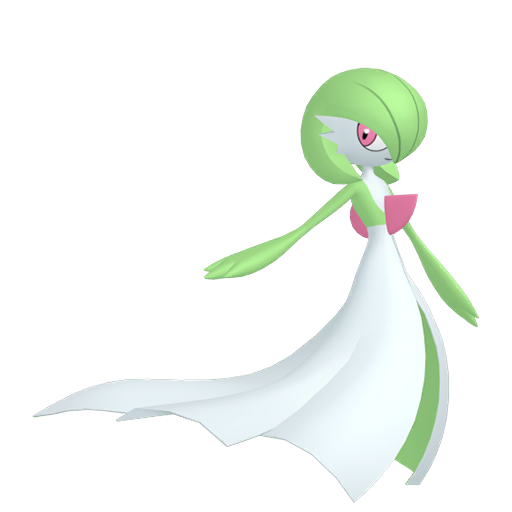
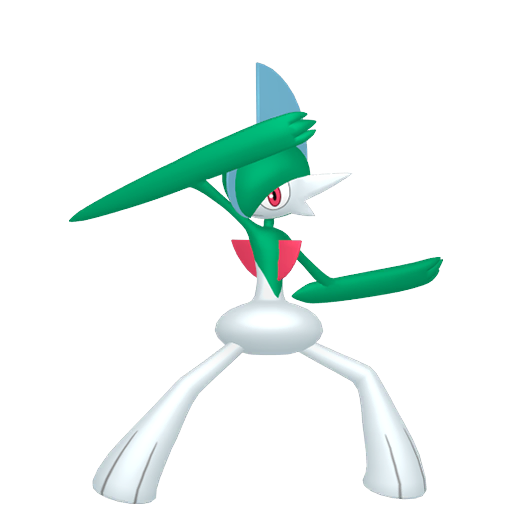
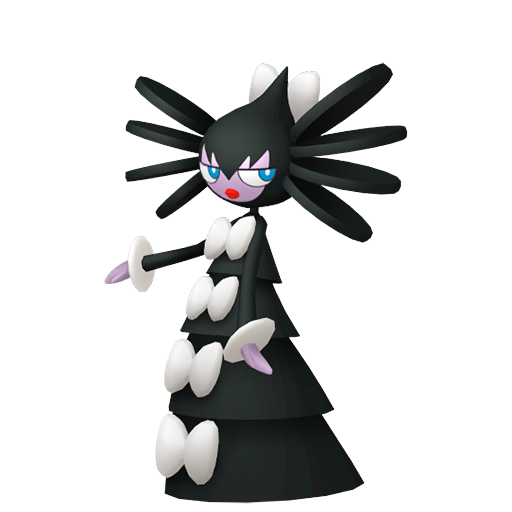
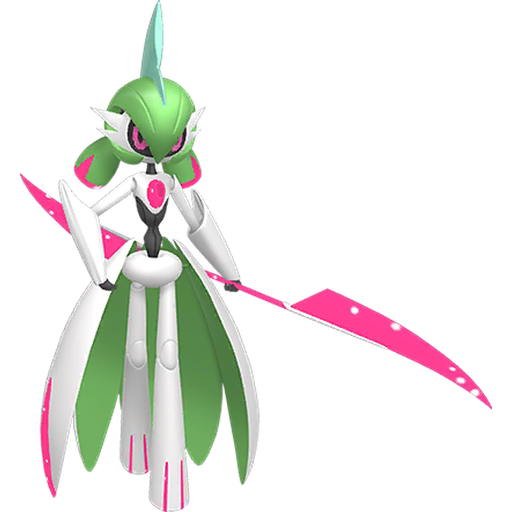
The offensive shift is equally concrete. Take Gardevoir at base 125 Sp. Atk: after one Calm Mind the effective output hits roughly 187 (125 × 1.5). Matchups that were technically 2HKOs — like landing a solid hit on Tyranitar's middling Sp. Def — slide into clean OHKO territory. The difference between "two turns to kill" and "one turn to kill" determines whether your opponent gets to respond at all.
Both directions improving simultaneously is what separates Calm Mind from most setup moves. You're becoming harder to kill with special moves and more threatening on offense on the same turn. An opponent without reliable physical wallbreaking power faces a genuine binary: either they have the physical fire to break through your untouched Defense, or they're eventually getting overwhelmed by both ends of the equation.
Who runs it
The profile for a Calm Mind user: high or good Sp. Atk, enough natural Sp. Def to survive the first hit while setting up, coverage wide enough to threaten multiple types, and enough Speed to not get doubled before it can act.
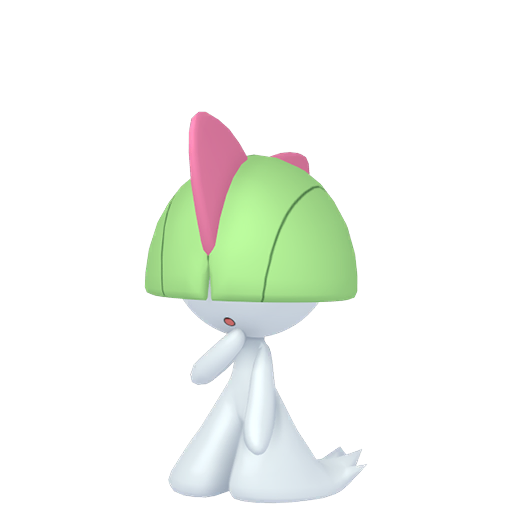
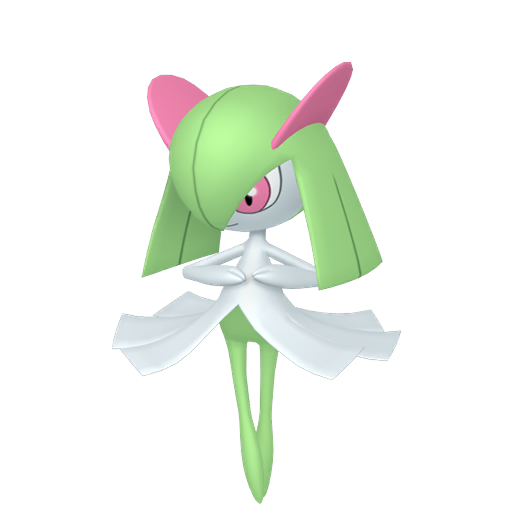
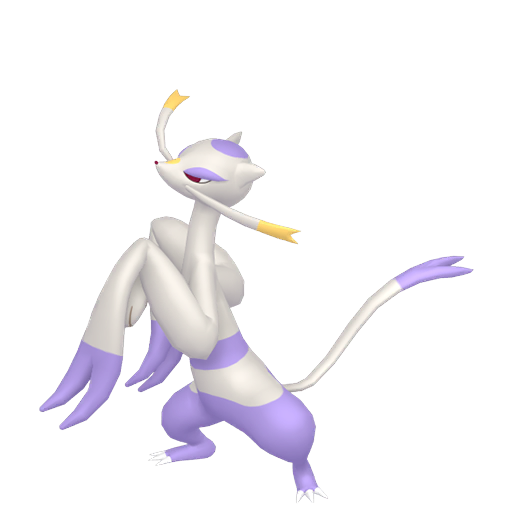
Gardevoir is the textbook carrier. Base 125 Sp. Atk, 115 Sp. Def, and coverage spanning Psychic / Moonblast / Shadow Ball — three directions that leave very few safe switch-ins. One Calm Mind and it pressures most of the tier; Mega Evolution (via Omni Ring and the relevant Mega Stone) jumps Sp. Atk to 165, collapsing some two-layer thresholds into one-layer OHKOs. It's the archetype precisely because setup, coverage, and resilience all land in one package.
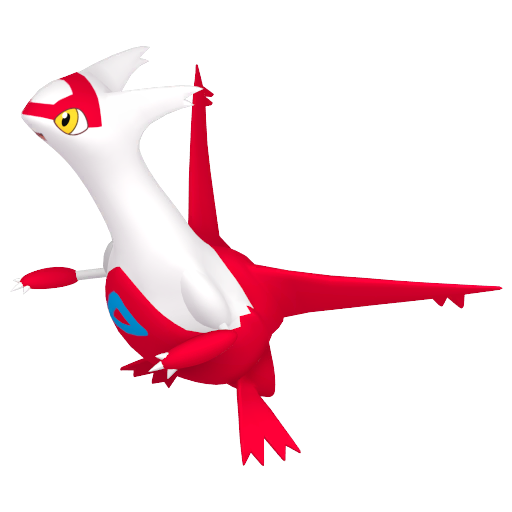
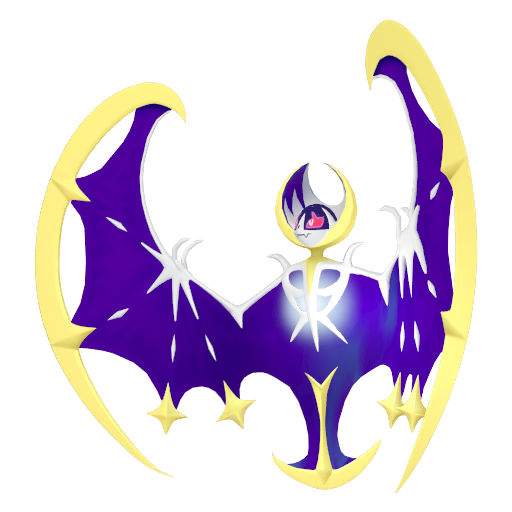
Latias plays the "survive first, threaten second" angle. Dragon / Psychic coverage hits cleanly, 110 Speed lets it outpace a wide chunk of the field, and 130 base Sp. Def means one Calm Mind makes most special attackers bounce off. After two layers, type-effective hits struggle to 2HKO — at that point it's essentially playing in god mode against special offense and can clean up freely.
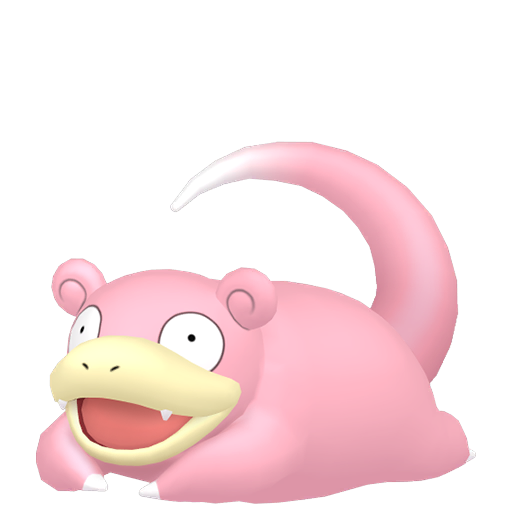
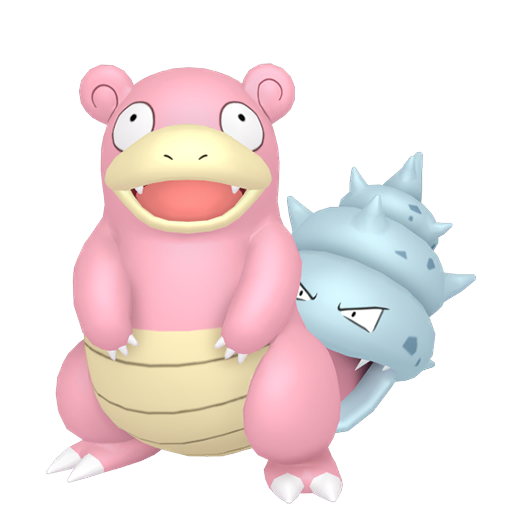
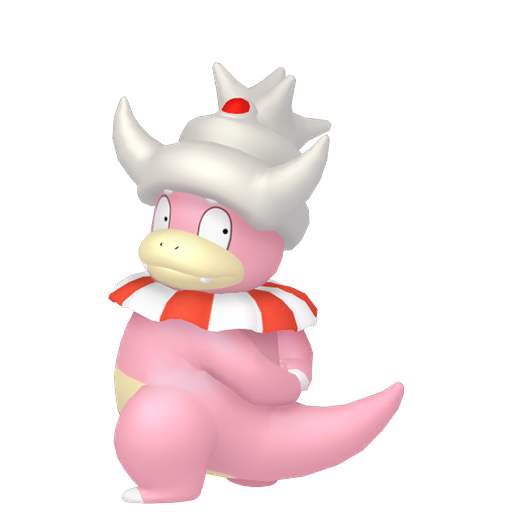
Slowbro — including its Mega form — takes the opposite approach. Enormous physical Defense means it doesn't need to dodge physical hits; as long as the opponent lacks reliable physical coverage, it stacks freely. Mega Slowbro's Sp. Atk surges, and a few Calm Mind layers put its Psyshock (which hits Def, not Sp. Def) into range of OHKOing special walls that would normally wall it.
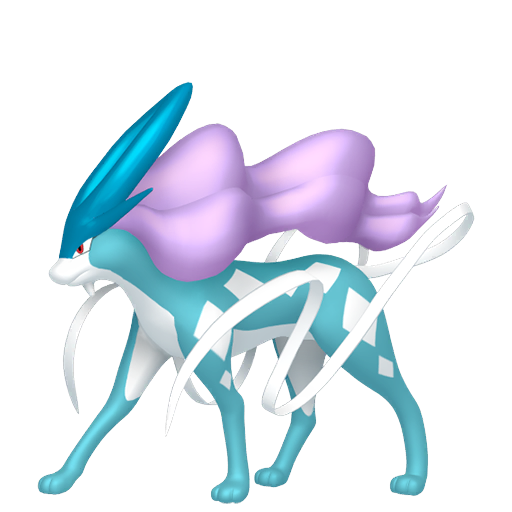
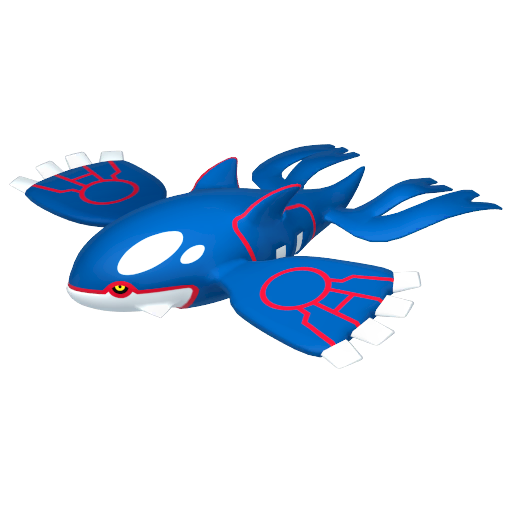
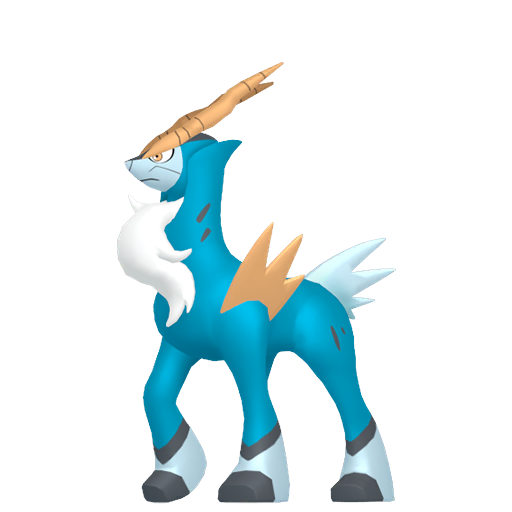
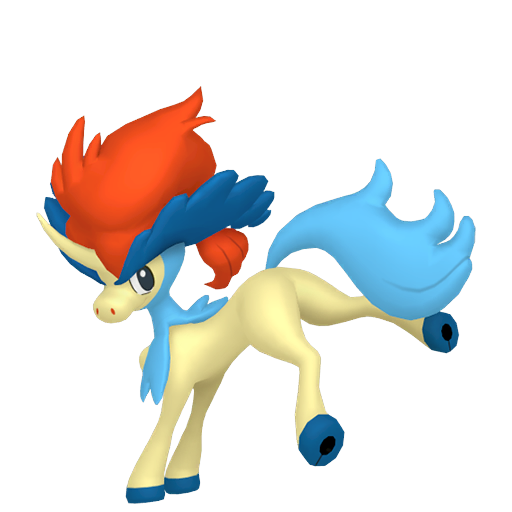
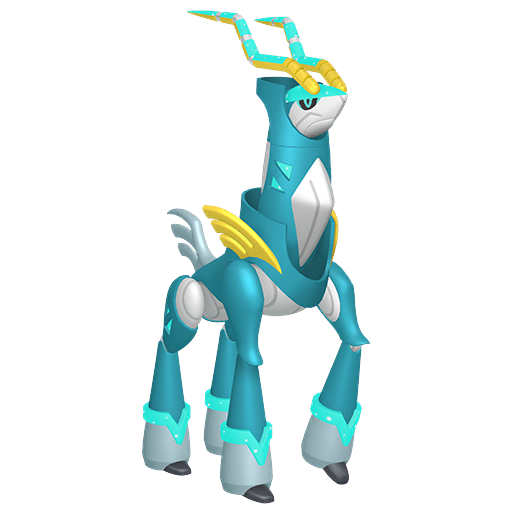
Suicune is the canonical bulky setup sweeper: balanced physical and special bulk, high HP, and the ability to pair Calm Mind with Rest for a "build enough layers to be unkillable, then finish the game" win condition. Without a strong physical attacker or a Haze user, most teams run out of answers.
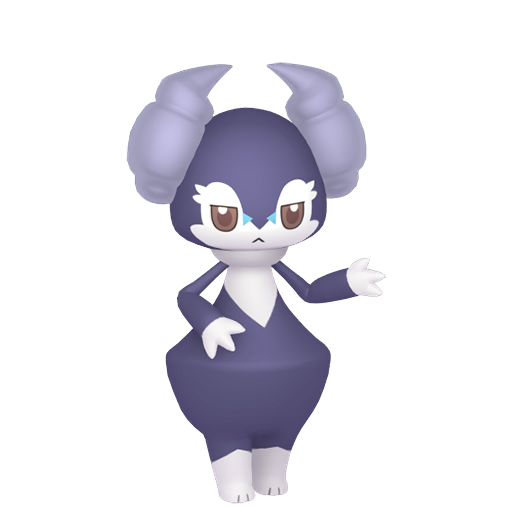
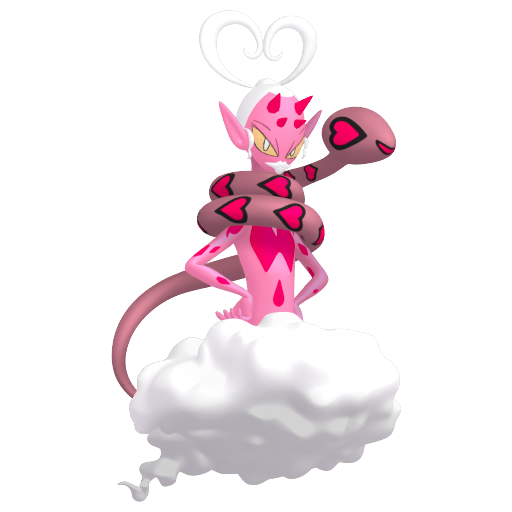
In doubles, Psychic Surge from Indeedee blocks priority moves entirely — removing one of the main tools opponents use to chip setup sweepers. Indeedee itself occasionally carries Calm Mind, leveraging its own terrain window to grab a layer and pivot to offense.
How to use it
Singles rhythm comes down to one question every turn: can the opposing move OHKO you? If not, use Calm Mind. If yes, don't.
Standard flow: switch in on a turn where the opponent's coverage misses you (they click a move that doesn't threaten you, or they switch) → Calm Mind → next turn, attack or grab a second layer depending on what they do. Two layers is usually the ceiling of what singles requires — you don't need three to close out most games.
Hard stops — situations where you pivot from setup to output immediately:
- Opponent switches in a physical attacker (Calm Mind is now irrelevant to the matchup)
- Opponent leads with Taunt — your ability to use Calm Mind is gone, attack instead
- Opponent carries Haze or Clear Smog — stacking into those moves is giving away free turns
Doubles is tighter. Every Calm Mind layer needs a manufactured window, not a hoped-for one. The reliable openings:
- Partner uses Follow Me or Rage Powder, drawing both opposing attacks away → grab one layer safely
- You read that both opponents click support moves and neither targets you → one layer
- One opposing slot clearly selects Protect → the pressure is halved, take the opportunity
Doubles rule: one layer, then output. Two layers in doubles is almost never worth pursuing — games move too fast and opponents adjust after the first layer lands. Stack once, then attack.
After boosting, move selection matters. Don't spend your Fighting coverage into a switch-in Ghost that then walls your remaining options — save coverage moves for the targets that actually need them.
Tips & strategy
Use Calm Mind as your win condition, not a support filler. Team-building around Calm Mind works backwards: identify what your sweeper needs to set up, then build the support around those requirements. Tailwind gives it first-move advantage, Follow Me creates doubles windows, and your physical threats need to handle whatever physical wallbreakers would bypass the Sp. Def boosts. All of this gets arranged before the game starts — you can't improvise it once you're in.
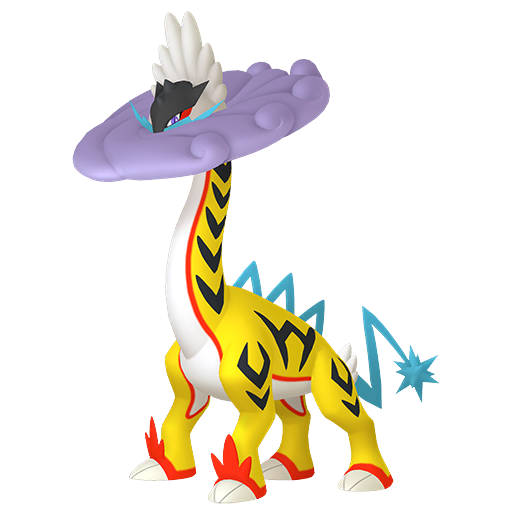
The hard counter is physical wallbreaking. Calm Mind doesn't touch Defense. Urshifu with Wicked Blow deals 100% critical hits that bypass stat changes, shreds through Protect, and invalidates every layer of Sp. Def you've accumulated. One Urshifu on the opposing team means the Calm Mind plan either needs a physical answer ready in the wings or it doesn't work. This isn't a "play carefully" situation — an active Urshifu slot often makes Calm Mind setups nonviable regardless of how many layers you have.
Haze and Taunt are the soft counters. Haze wipes all stat changes from all Pokémon in one move — your three Calm Mind layers evaporate instantly. Clear Smog does the same to a single target while dealing damage. If you know the opponent is running either, the correct line is forcing out the Haze user before you set up: bait the switch, outspeed it, or use a teammate to KO it first. Taunt locks you out of Calm Mind before it lands — if you keep getting Taunted mid-setup, you're either switching in at the wrong moment or your team lacks the tools to threaten the Taunt user before it acts.
Common mistake autopsy: stacking past the threshold. Two layers of Calm Mind are already enough to clean most games. The beginner error is being at +2, knowing the remaining threats can be OHKOed, and still clicking Calm Mind for "one more layer just in case." That extra turn is a free action handed to your opponent. The check is simple: can your next move OHKO or reliably 2HKO what's in front of you? Yes → attack. No → consider one more layer. Stacking four or five times when two or three already won the game is a habit that causes losses, not wins.
The doubles equivalent: attempting two layers and getting interrupted before the second lands. One layer is the entry fee; attacking immediately after is the discipline that actually converts setup into KOs.