

























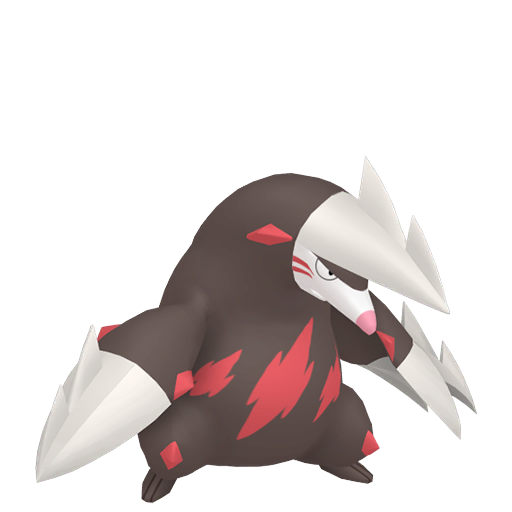
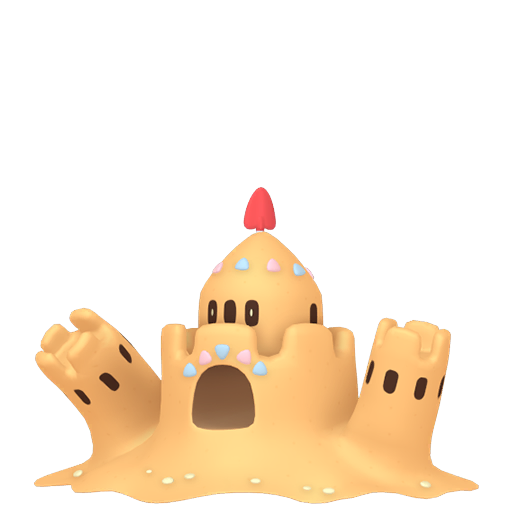
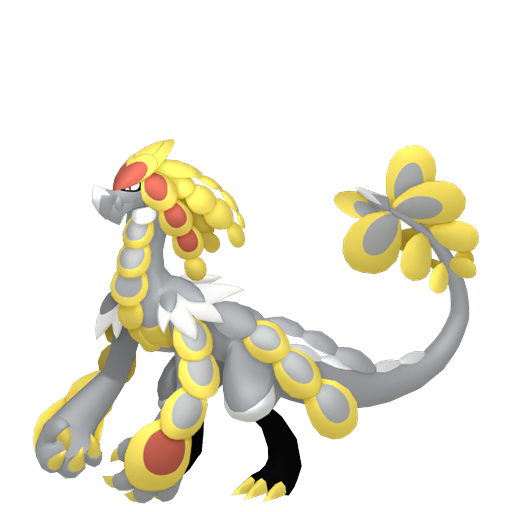
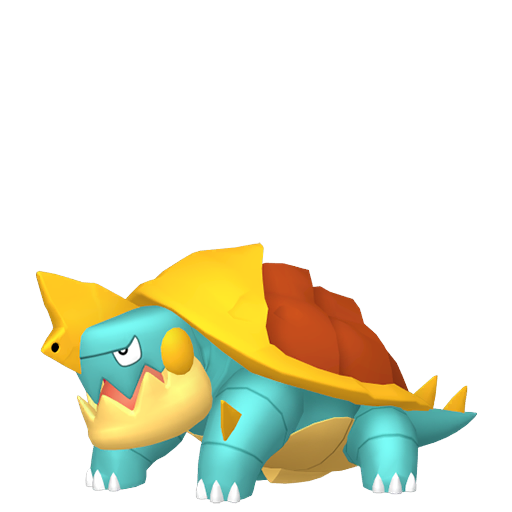

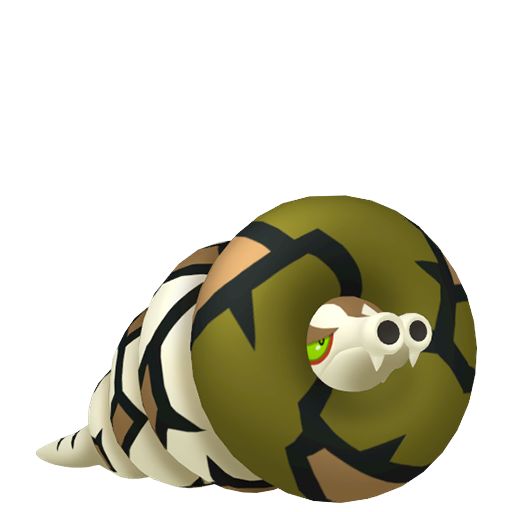



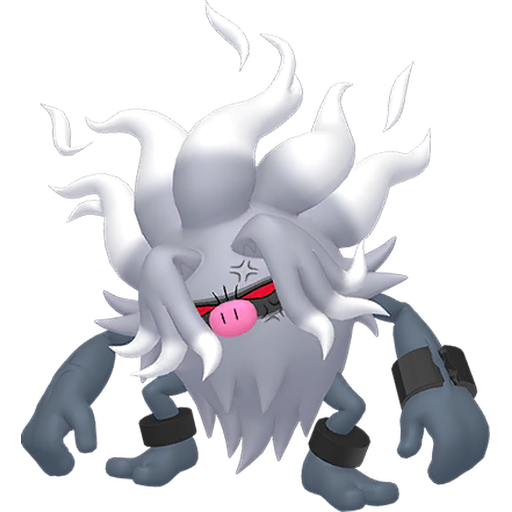
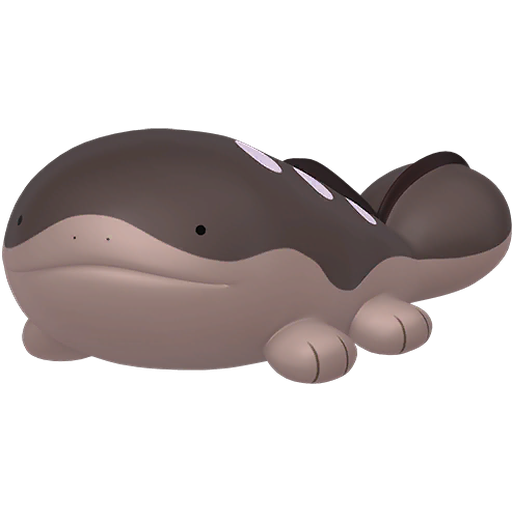

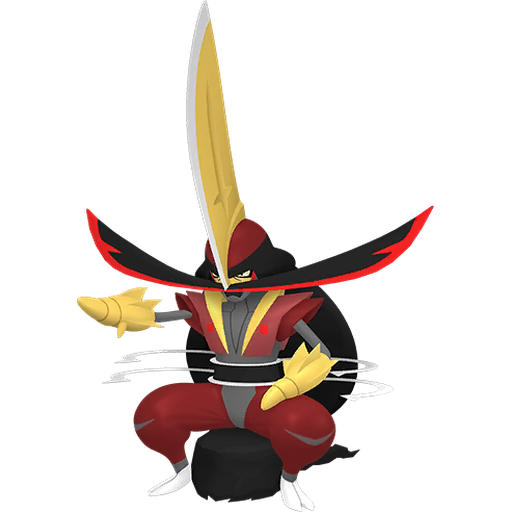
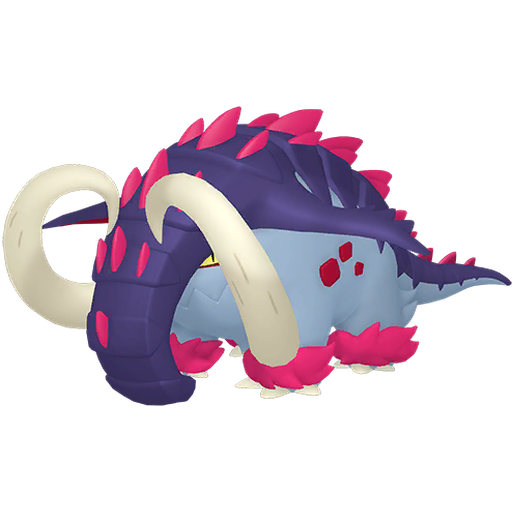

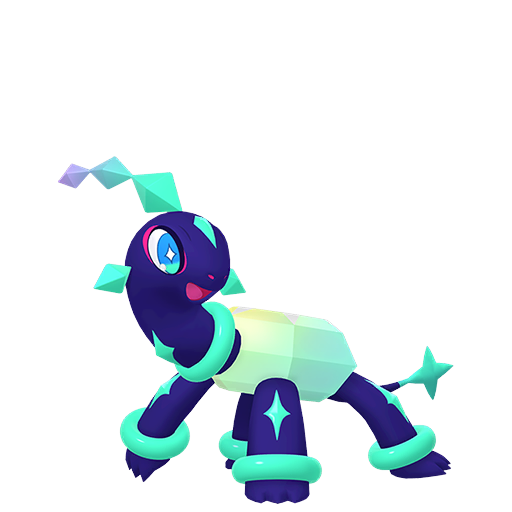
What it does
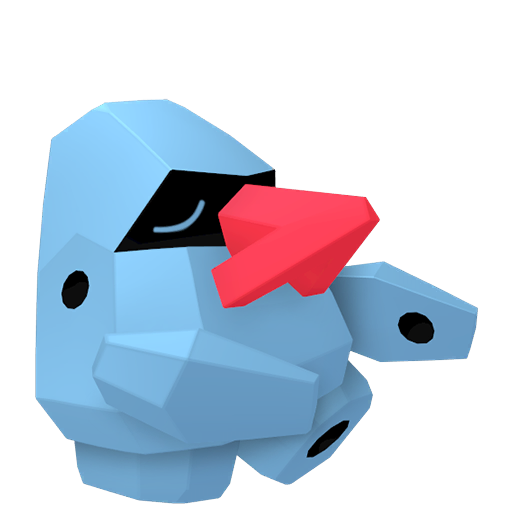
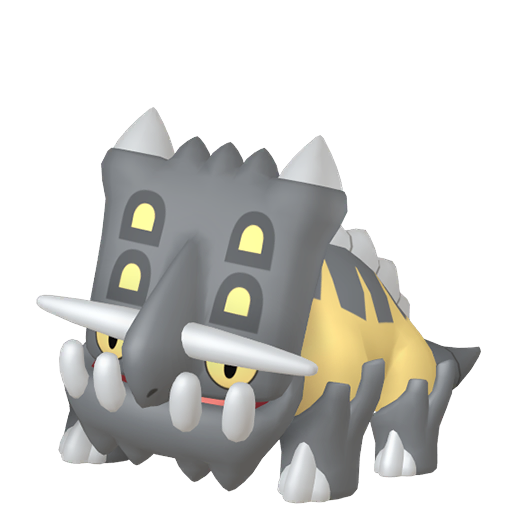
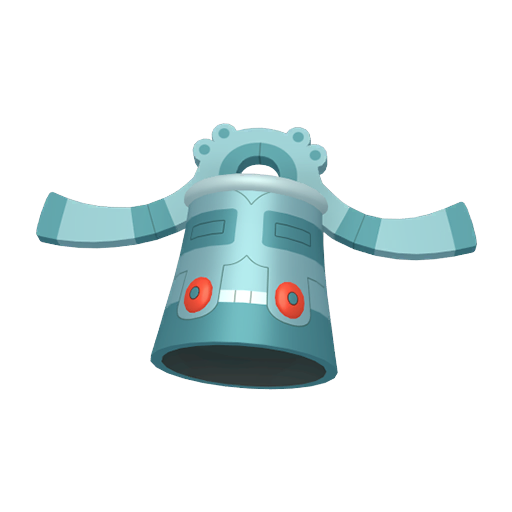
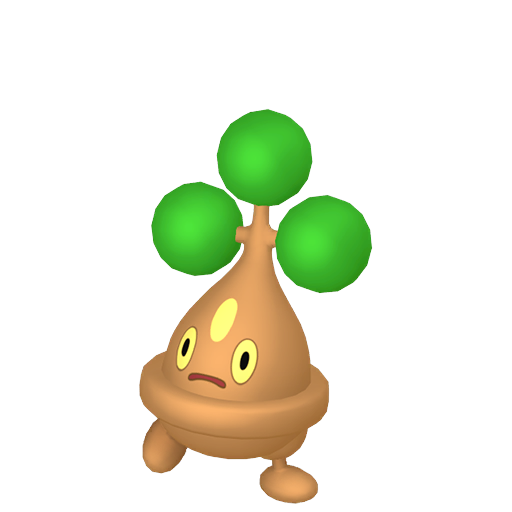
Stealth Rock scatters sharp rocks on the opposing side of the field. Every time the opponent switches in a Pokémon, it loses a percentage of its max HP based on Rock-type effectiveness: neutral = 1/16, 2× weak = 1/8, 4× weak = 1/4, 2× resistant = 1/32, 4× resistant = 1/64.
The numbers matter more than they look. A Lv50 Charizard at a typical HP investment sits around 155 HP — one switch-in costs it roughly 39 HP (25%), dropping it directly into the one-shot range of Rock Slide from almost any meaningful attacker. If your opponent switches Charizard in twice over the match, you've effectively dealt nearly half its total HP without spending a single attacking turn. Togekiss loses 1/4 every switch — add even a layer of Spikes and it enters at 37.5% HP gone before any exchange has happened. Volcarona (also 4× weak) faces the same math: two hazard layers and it's already below the threshold for most hard hits.
The competitive implication goes beyond chip damage. Stealth Rock turns every switch into a real resource cost. Your opponent can't freely rotate to better match-ups without bleeding HP; Pokémon that previously survived two hits now die in one because they enter chipped. This is the core leverage — you are permanently lowering your KO thresholds without requiring your attacker to deal more damage.
It also constrains Mega Evolution gameplans: if the opponent's Mega is Rock-weak, repeatedly pulling it out to re-enter later costs HP they can't get back, forcing them to commit to the Mega on the field rather than cycling it freely — which creates predictability you can exploit.
In doubles Ranked Battles, the mechanic is identical, but switching happens so rarely that the pressure almost never materializes. The slot is worth far more as Follow Me, Wide Guard, or Fake Out. This move is fundamentally a singles weapon.
Who runs it
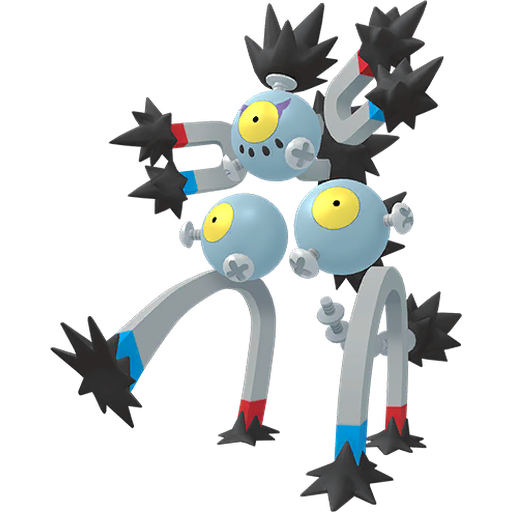
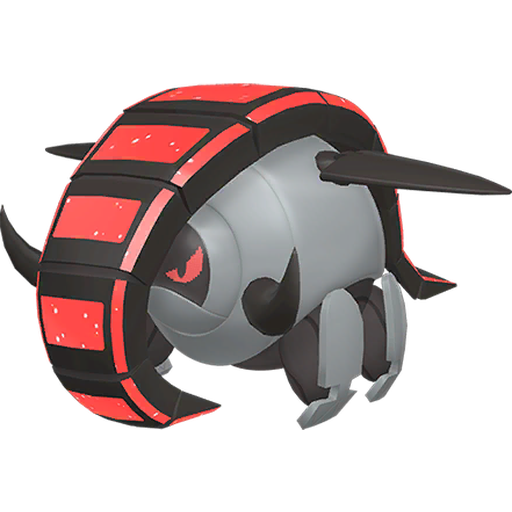
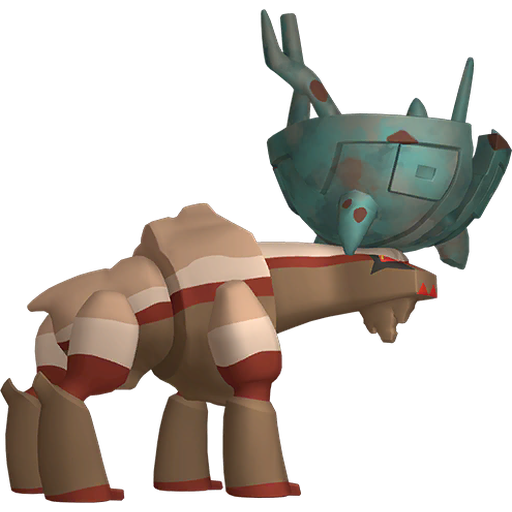
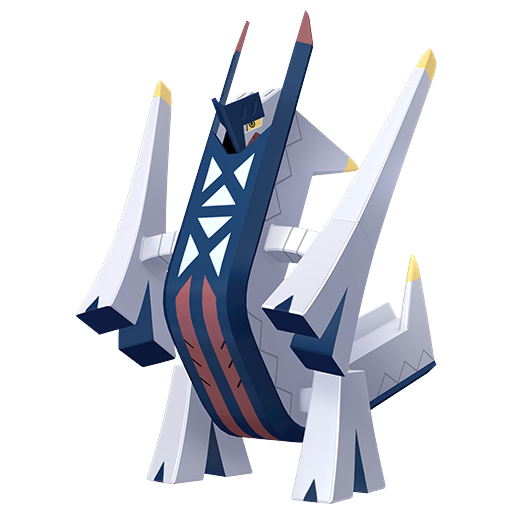
The best Stealth Rock setters share three traits: threatening or durable enough to not be immediately KO'd on entry, don't need the moveslot for damage output, and can reliably find a turn to set.
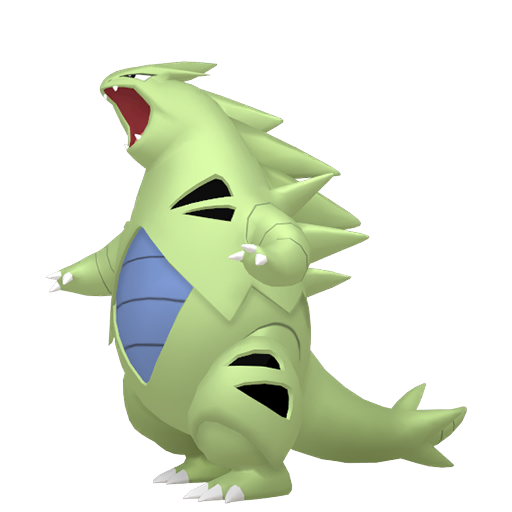
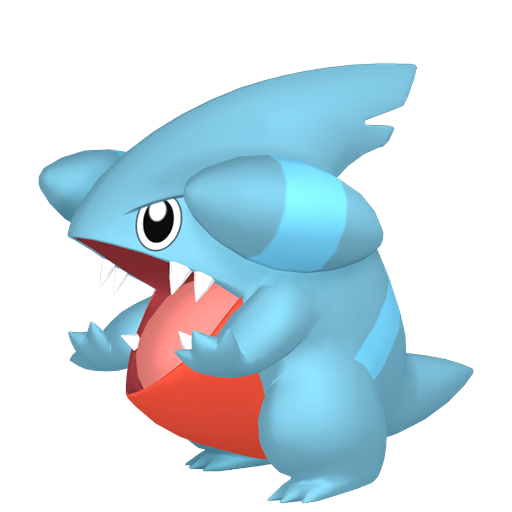
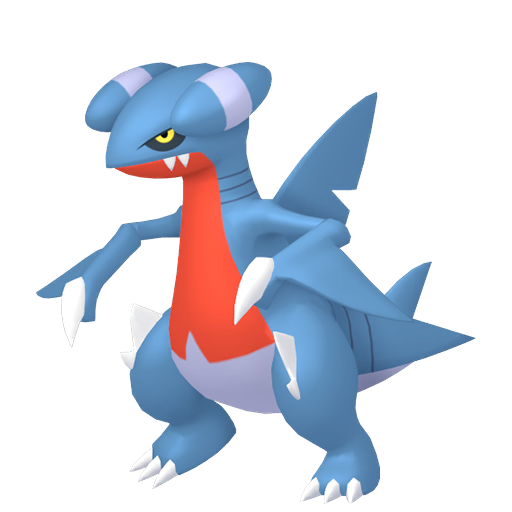
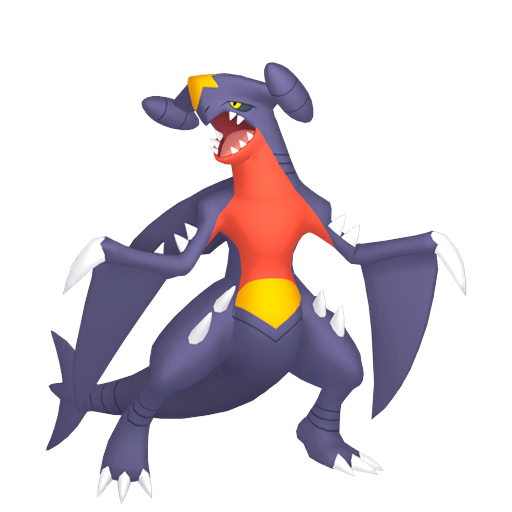
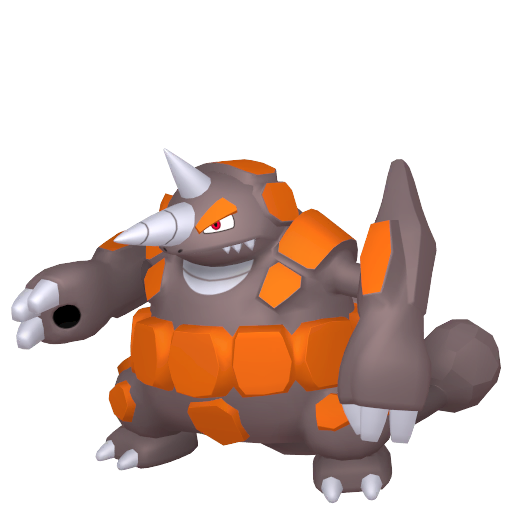
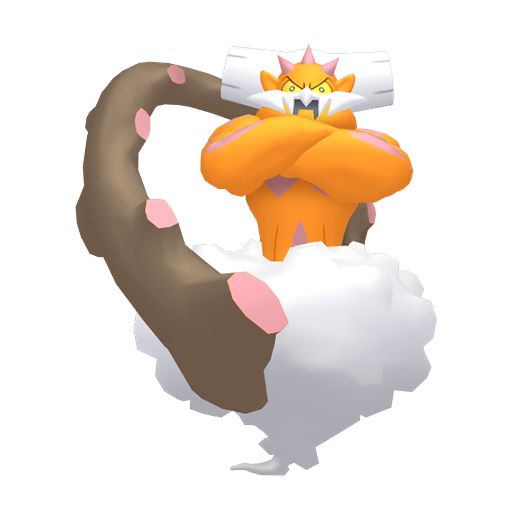
Fast offensive leads: Garchomp is threatening enough that the opponent often can't just attack into it freely — that hesitation is a free turn to set rocks on turn 1. Landorus does the same with even broader coverage, setting rocks then pivoting into its own damage role without wasting a single turn.
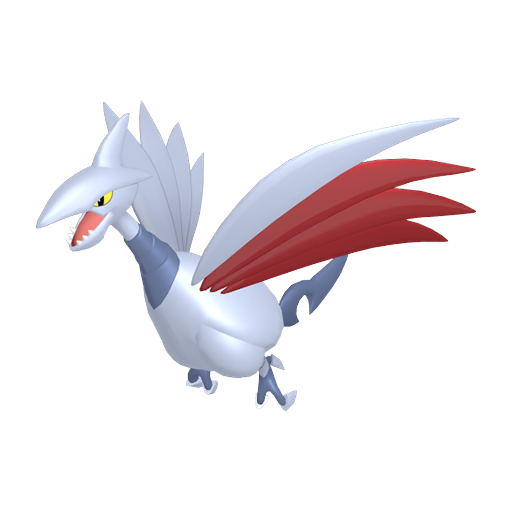
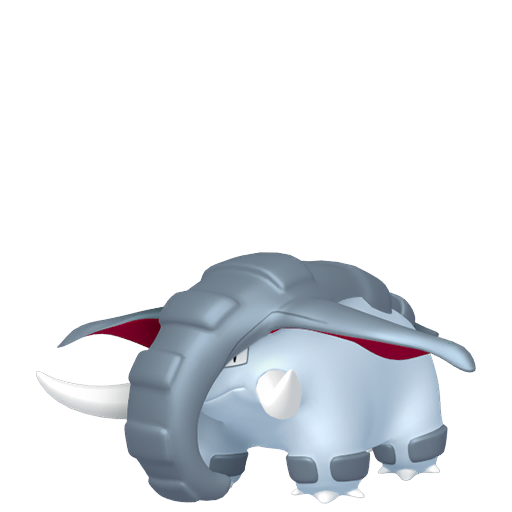
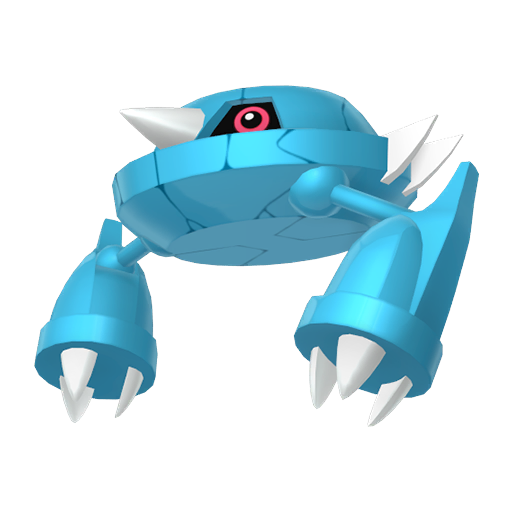
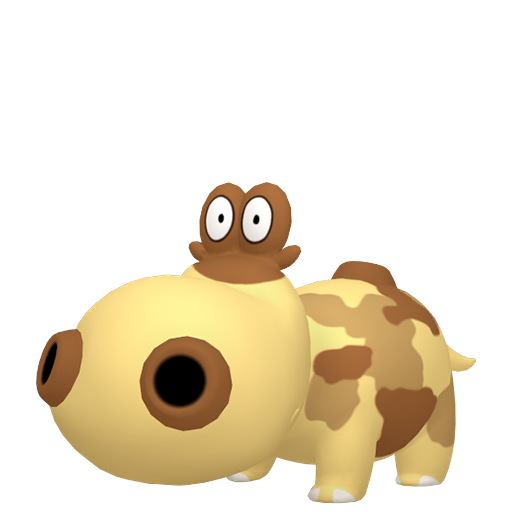
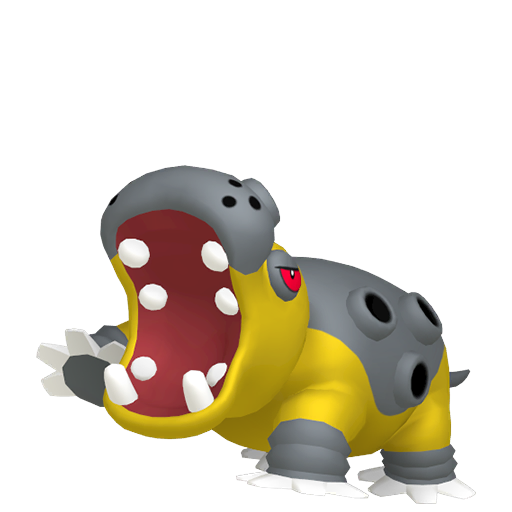
Defensive anchors: Hippowdon pairs rocks with Slack Off and simply outlasts the game — it can come back multiple times to reset rocks if they're cleared. Ferrothorn is so naturally bulky it can set rocks on turn 1 and immediately threaten Leech Seed, forcing the opponent to spend resources dealing with two passive damage sources simultaneously. Skarmory goes further: combine rocks with Whirlwind and the opponent gets forced into switch-ins repeatedly, stacking chip they can't avoid.
Pivot-style supporters: Rotom sets rocks and escapes via Volt Switch, keeping itself healthy for later while maintaining tempo. A setter that can exit safely is significantly harder to punish than one that stays in and gets worn down.
Mega leads with speed: Aerodactyl with its Mega Stone hits extreme Speed tiers after evolution, outspeeding most opposing leads and setting rocks before taking any damage — then immediately threatening with high-Speed attacks.
How to use it
In singles, two main windows exist for setting Stealth Rock:
Turn 1 lead: If your setter moves first or can survive a hit, set rocks immediately. Don't try to be clever — just set it. The core decision is simple: "Do I move first this turn? Yes → set rocks." Opponents are often also trying to set their own hazards or make a safe play; capitalizing on that by going rocks before they can react is free value.
Switch-in window: When the opponent switches into a Pokémon your setter handles comfortably, use that turn to set rocks instead of attacking. The opponent expected to absorb a hit; instead they've wasted a switch and enabled your hazard layer without you taking any damage. This window appears repeatedly across a match and is often safer than the turn-1 approach.
Hazard stacking: Stealth Rock plus Spikes compounds on every switch-in — one layer of Spikes adds another 1/8 on top of the rock chip. Stack both and suddenly a neutral switch-in loses 3/16 of its HP; any Pokémon with a rock weakness is now losing a third or more per entry. Adding Toxic Spikes piles on poison, eventually making it impossible for the opponent to maintain any Pokémon above KO thresholds.
Critical rule: Stealth Rock does not stack. The field either has rocks or it doesn't — using it again when rocks are already active is a wasted turn, pure and simple.
Tips & strategy
The Taunt war: An opposing lead with Taunt completely shuts down Stealth Rock on the turn it's used. In Team Preview, check whether the opponent has fast Taunt users — Thundurus, Whimsicott, and similar. Decide whether you need to lead your own Taunt user to suppress theirs first, or whether you should simply abandon the turn-1 setup and wait for a safer window later in the match.
Magic Bounce is a hard counter: Espeon and Hatterene carry Magic Bounce, which reflects Stealth Rock directly back onto your own field. You attempt to set rocks; the rocks land in your court instead. Check during Team Preview whether either is on the opponent's team. If so, either threaten them out with a faster attacker before attempting to set rocks, or use your own Taunt to suppress their supportive actions before committing.
Count the weaknesses first: Before locking in a Stealth Rock setter, count how many of the opponent's Pokémon have a Rock-type weakness. Flying, Fire, Ice, Bug, and Grass types are all at minimum 1/8 per entry. If three or four of their team are weak, rocks are near-gamewinning and worth protecting aggressively. If the entire opposing team is Ground, Steel, and Fighting types, the chip pressure is negligible — reconsider the moveslot for Will-O-Wisp, Toxic, or another form of support.
Common beginner mistake — setting rocks that already exist: The single most wasteful error new players make is using Stealth Rock when rocks are already active on the opposing side. It deals no damage, provides no benefit, and consumes your entire turn. Always verify field state before selecting the move. In a high-pressure turn where you're trying to preserve tempo, throwing away an action to a no-op is frequently the difference between winning and losing.
The removal war is the real strategic layer: Rapid Spin clears hazards only from the spinner's side. Defog clears all hazards from both sides. Once you identify the opponent has a hazard remover, build around threatening or KO'ing it — a Corviknight that's low on HP cannot freely switch in to Defog your rocks away. Rocks that survive an extra two or three turns often represent 30–50% of cumulative chip across the match. Don't treat your hazard layer as permanent infrastructure; treat it as a resource that needs active protection and plan your team around keeping it alive.