



















What it does
Coaching is a Fighting-type status move that targets your active ally in doubles, raising their Attack and Defense each by one stage in a single action. No ally on the field means the move simply fails — it cannot be used in singles at all.
The numbers behind the boost
Attack +1 multiplies the receiver's damage output by 1.5 (×6/4 in exact terms). Take Garchomp with base 130 Attack: at +1 its effective Attack becomes 195. That same Earthquake that left a target at red HP now KOs cleanly. In Champions, damage rolls are randomly selected from 16 steps between 85% and 100% of the damage formula — a +1 Atk boost often pushes an outcome from "~65% chance to KO" into "~95% chance to KO," which in a best-of-one ranked game is a meaningful change in how you play the turn.
Defense +1 is quieter but real. Many coverage moves sit in borderline 2HKO territory; a Defense stage can shift a 90% 2HKO into a 60% one, giving your receiver an extra turn with high reliability.
Intimidate reversal math: when Intimidate lands, your attacker's Attack drops from 130 to roughly 97 (×0.75). A Coaching after that restores the stage to +1, bringing effective Attack to 195. That's not just "cancelling the Intimidate" — it's ending up 50% above the starting value. The net swing from the opponent's perspective is enormous.
Speed is not touched. Hawlucha gets its Speed from Unburden, not from Coaching.
Who runs it
The ideal Coaching user is a Fighting-type support-attacker: threatening enough that opponents have to respect it, but often with turns where no clean attack target exists — when the opponent uses Protect, when angles are bad, when your priority is building toward your ally's sweep.
-
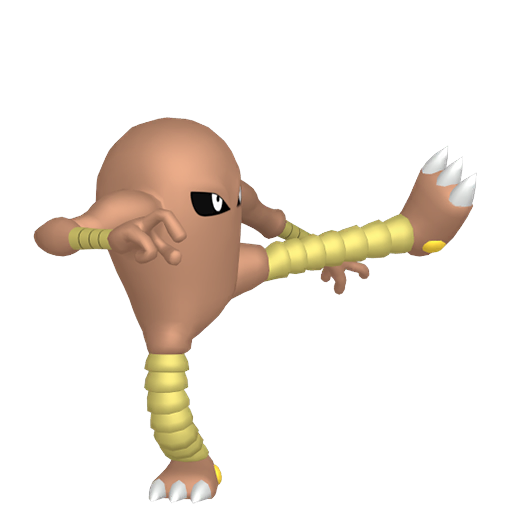
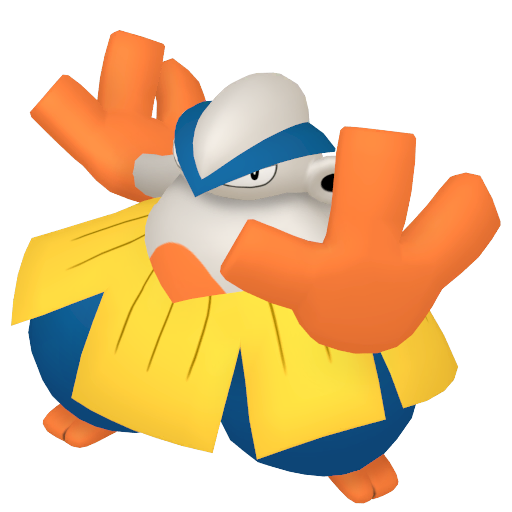
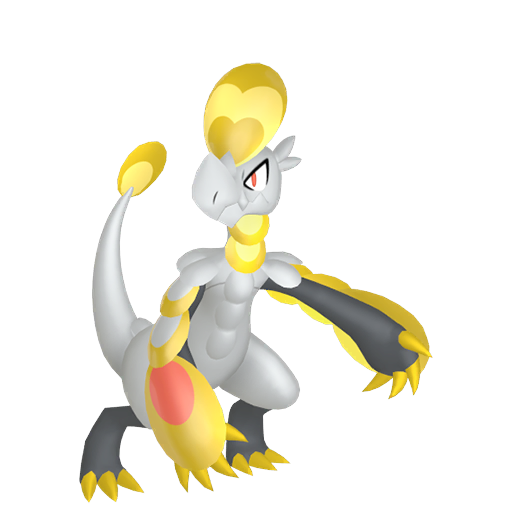
Hawlucha (~36% usage): the cleanest fit. Runs Unburden + White Herb, which doubles its base 71 Speed to 142 after the Herb triggers. On turns where the opponent's side is protected or out of range, Coaching goes to a physical sweeper. Because Hawlucha is already fast enough to act before most threats, the +1 it hands over gets cashed in the very next action.
-
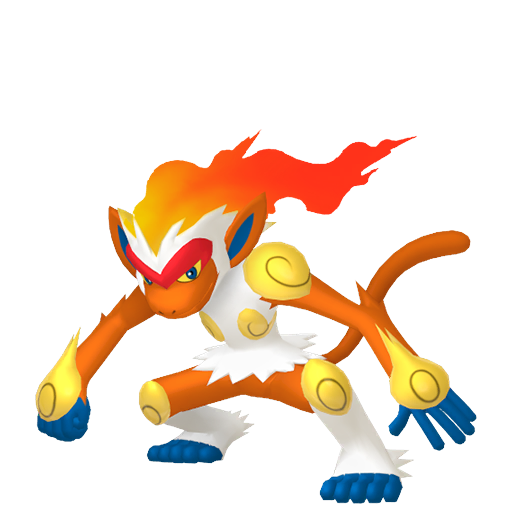
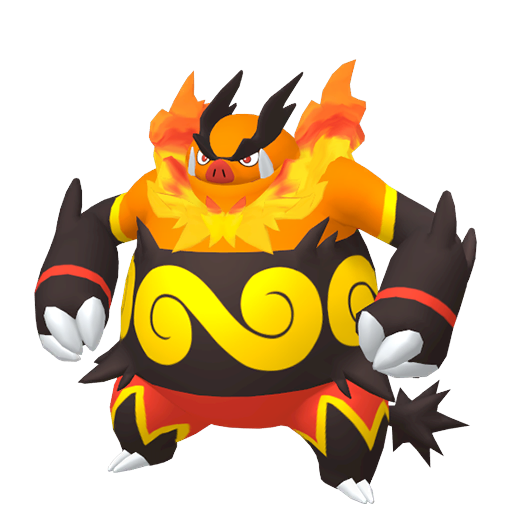
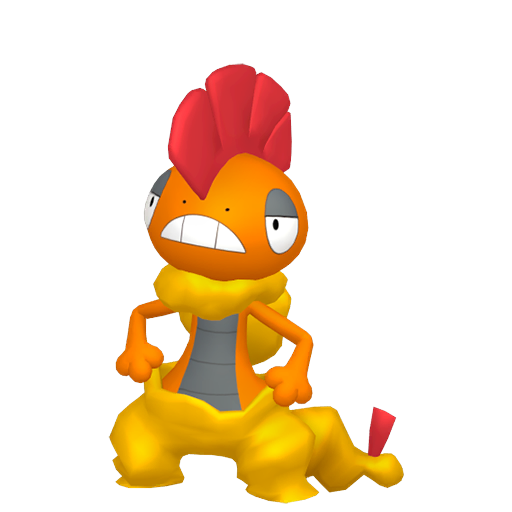
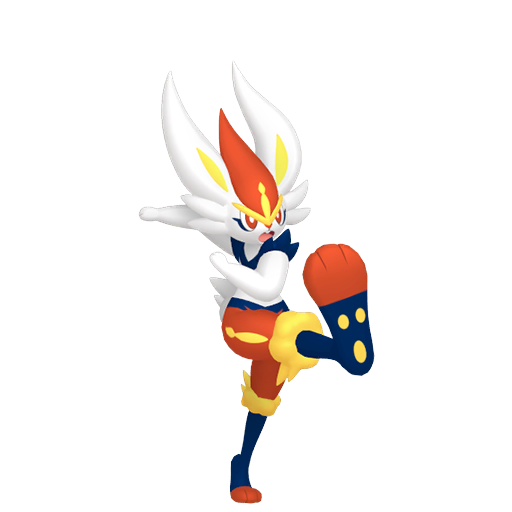
Infernape (~18%): the Fake Out lead role. Turn 1 uses Fake Out to interrupt the opponent. Turn 2 often has no obvious attack priority — Coaching fills that gap, keeping every turn productive. Note the move-slot cost: Infernape wants Fake Out, a Fighting STAB, a Fire STAB, and Protect. Adding Coaching means dropping one of those; only do it when your team genuinely needs the support more than the coverage.
-
Sneasler (~12%): primarily a sweeper, but its base 135 Speed gives it flexible turn-order control. On turns where both opposing slots are protected or targeting is awkward, Coaching to Kingambit or Garchomp wastes nothing.
-
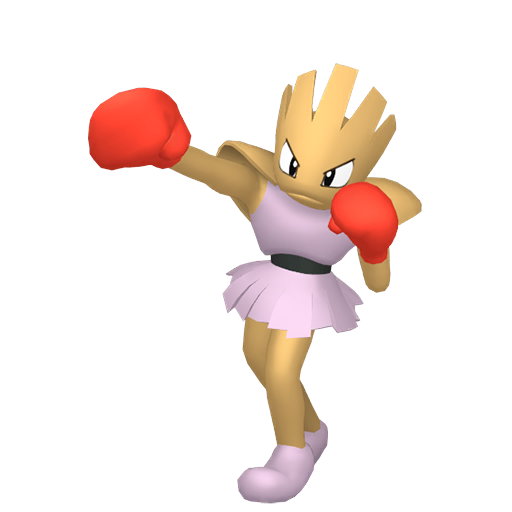
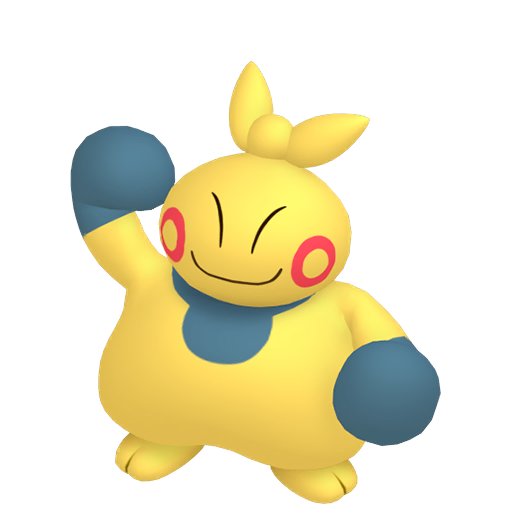
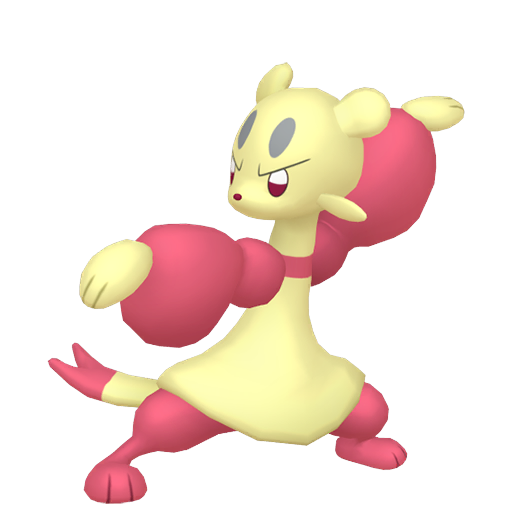
Heracross (support role, ~11%): when paired with priority-move users like Medicham or Arcanine, the Defense +1 from Coaching lets them absorb Fake Out follow-ups without fainting.
Receivers — physical cores that scale hard on Attack:
- Garchomp: Earthquake at +1 Atk clears KO thresholds that were previously roll-dependent. Defense +1 absorbs Ice Shard from Weavile more reliably.
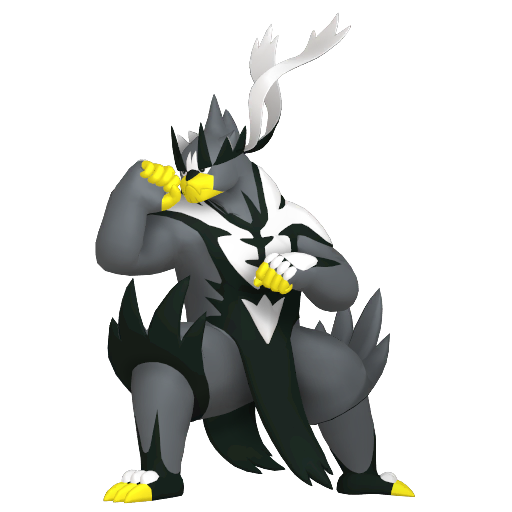
- Kingambit: Supreme Overlord stacks multiplicatively with +1 Atk, producing extreme single-hit numbers. Defense +1 extends its survivability against Steel-weak hits.
- Basculegion: Swift Swim or Adaptability paired with Attack +1 makes its damage output nearly unresistable without a resist.
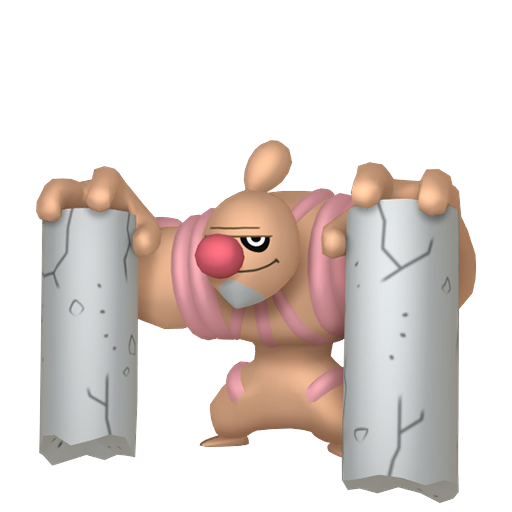
- Conkeldurr (Trick Room cores): Drain Punch heals more with higher base damage, so Attack +1 doubles as sustain in long games.
How to use it
Coaching is doubles-only. Every pattern below assumes a doubles Ranked Battles.
Turn pattern 1 — Double Protect turn Both opposing Pokémon use Protect. You have no attack target. → If your ally is a physical sweeper and unboosted: use Coaching. → If your ally is already at +2 Attack or higher: Protect yourself instead — no further value in boosting.
Turn pattern 2 — Self-drop recovery chain Your ally used Close Combat last turn (Defense −1). Opponent is pressing the attack. → Coaching this turn: Defense goes from −1 back to 0. You've recouped the self-nerf. → With White Herb: the item triggers first (Defense 0), then Coaching pushes it to +1. Your ally fires its self-drop move, tanks the item, nets +1 Defense and +1 Attack with no lasting downside. This is exactly why Kommo-o + Coaching support works: Clanging Scales hits hard, White Herb cleans the Sp. Def drop, Coaching stacks a Defense stage on top.
Turn pattern 3 — Intimidate reversal Opponent sends out Landorus-Therian, Intimidate fires, your Garchomp's Attack drops. → Coaching: Attack goes from the nerfed value back to base, then one stage above. Net result: your attacker is stronger than before the Intimidate landed. Pick this line when you know Garchomp can survive the turn.
The ceiling: once your ally is at +2 Attack and Defense, further Coaching has near-zero return. Use that turn to attack or to Protect.
Tips & strategy
The most common mistake — boosting into a KO
This happens constantly at mid-ladder. The scene: your Garchomp is about to be one-shot by the opponent's Iron Bundle. You use Coaching to give it +1/+1. Iron Bundle moves first and KOs. The boost disappears. Your action accomplished nothing.
The fix is a single question before committing to Coaching: can my ally survive this turn? If the answer is no or uncertain, either attack the threat to disrupt it, or use Protect on the ally. You only invest in boosting something that will be alive to use the boost.
Named exception — when Coaching gets wiped
Haze resets all stat changes on both sides — your entire Coaching investment evaporates instantly. Clear Smog does the same on the target it hits. Neither move sees heavy use in current Ranked Battles, but Weezing lines do exist as fringe answers to setup strategies. Against teams you suspect run Haze, weigh whether Coaching investment is worth the risk or whether you should apply immediate pressure instead.
Countering Coaching setups from the other side: the correct answer is never to target the Coaching user — it's to KO the receiver. The boosts live on the receiver; the receiver goes down, the boosts disappear, the investment vanishes. Fake Out into a strong hit directed at the boosted Pokémon is the cleanest interrupt. Switching out the boosted Pokémon also removes the boosts, so if an opponent is telegraphing Coaching + sweep, forcing a position switch can defuse it without a direct KO.
Move slot tradeoff: on mons like Infernape with a full four-slot kit, Coaching always displaces something. Dropping Protect exposes you dangerously; dropping an attack move costs KO pressure. Carry Coaching only when your team architecture genuinely relies on the support — not because it sounds useful in theory.
Stat Points notes: Coaching users generally prioritize Speed and bulk over maxing their own offensive stat. Their damage matters, but their core value is the support turn — build accordingly.