
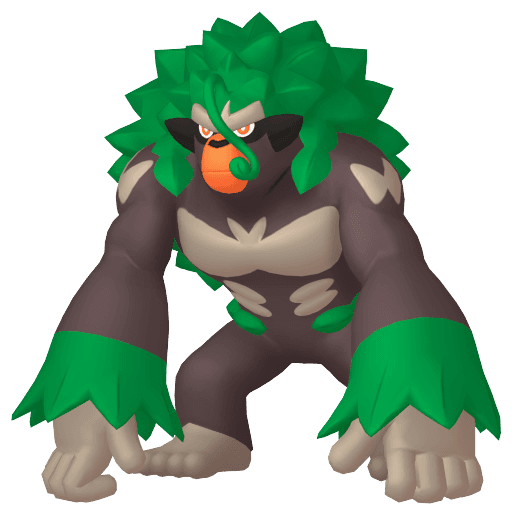

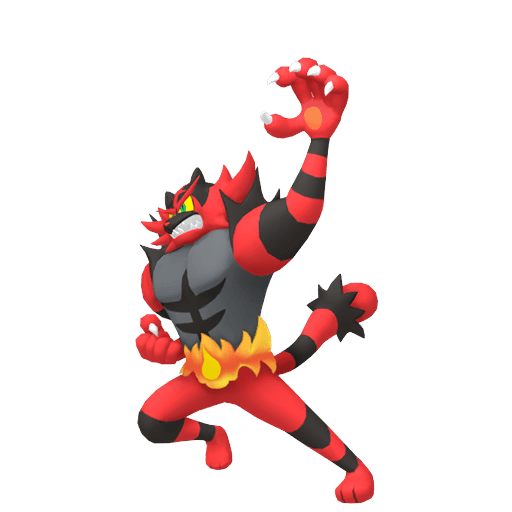
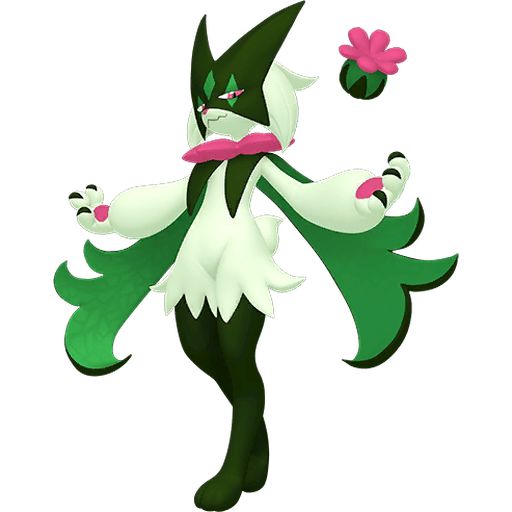
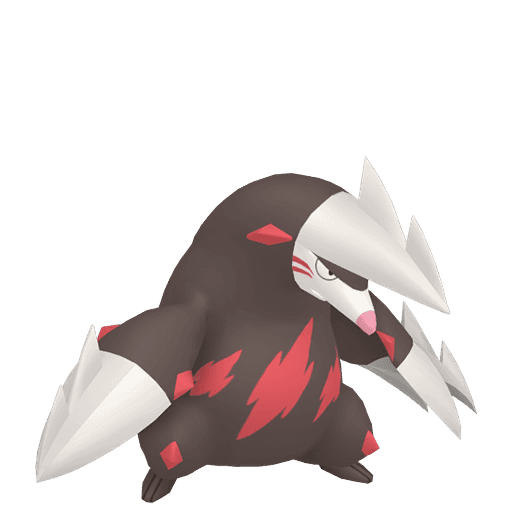
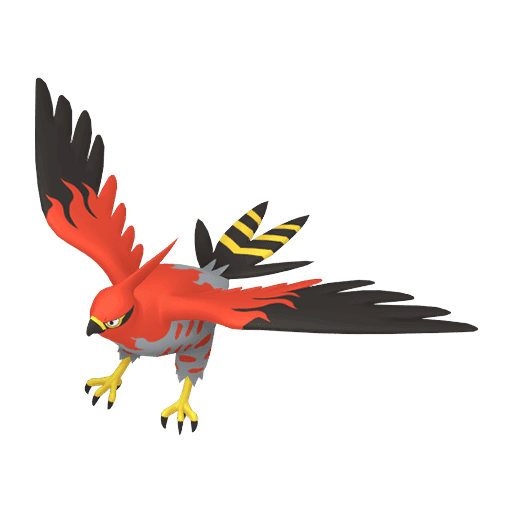



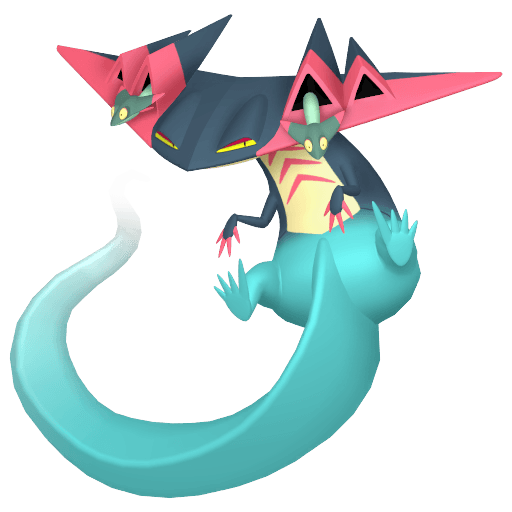





What it does
Expert Belt multiplies move damage by ×1.2 whenever the move hits super-effectively. That's it — no HP drain like Life Orb, no move lock like Choice Band, no item consumption. The boost is fully repeatable every time you connect on a weakness.
Worked numbers that actually matter. Champions runs Lv50 with Stat Points capped at 32 per stat. The relevant multiplier stack when Expert Belt fires on a STAB super-effective hit is:
STAB ×1.5 × type effectiveness ×2 × belt ×1.2 = ×3.6 total
Compare to Life Orb at ×1.5 × ×2 × ×1.3 = ×3.9. The gap is about 8% — and Expert Belt costs you zero HP per turn. On a non-STAB super-effective hit the stack is ×2 × ×1.2 = ×2.4, versus Life Orb's ×2.6. Again roughly 8% behind, but over a three-to-five-turn midgame your holder enters every exchange at full HP while a Life Orb user has already shed 20–30% of their health bar.
Damage in this format rolls across 16 discrete steps from 85% to 100%. Use the damage calculator and confirm the minimum roll (×0.85 modifier) still crosses the KO threshold — don't treat "probably a KO" as a certainty when a 15% low roll means a live opponent with 5% HP left.
Who runs it
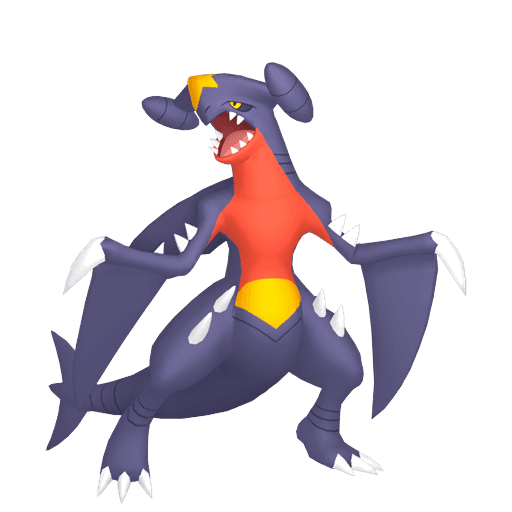
Garchomp — the widest super-effective net in the format
Ground/Dragon typing plus flexible coverage means Earthquake lands super-effectively on Fire, Electric, Poison, and Steel types. Stone Edge hits Ice, Flying, and Fire. In doubles, the ×0.75 spread penalty on Earthquake drops to roughly ×1.5 × ×2 × ×1.2 × ×0.75 = ×2.7 against the same targets — still a decisive hit, and the belt partially compensates the spread cut. Crucially, Garchomp never wants to lock itself with Choice Band because different targets demand different moves; Expert Belt gives it the same coverage freedom it already plays with naturally.
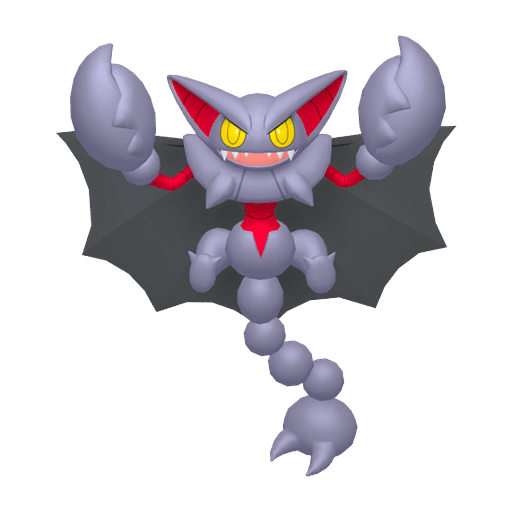
Gengar — Ghost + Poison + coverage, three lines of attack
Gengar's Ghost STAB threatens Psychic and Ghost types, Sludge Bomb clips Grass and Fairy types, and Focus Blast or Energy Ball fills in the remaining gaps. In practice it can find a super-effective angle against the majority of the meta. High Special Attack and top-tier Speed mean every belt-boosted hit carries real KO threat. Choice items on Gengar force you into telegraphed plays; the belt keeps your options open every turn.
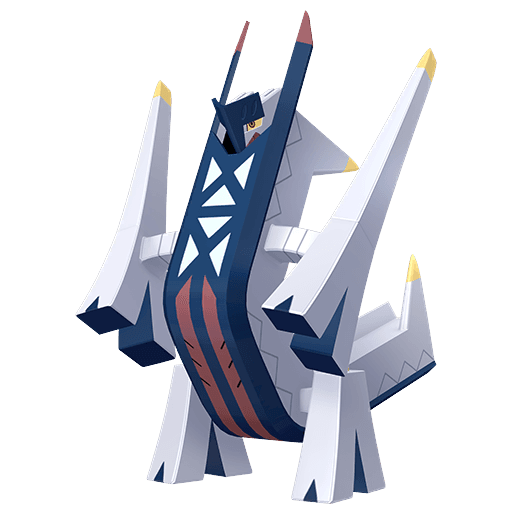
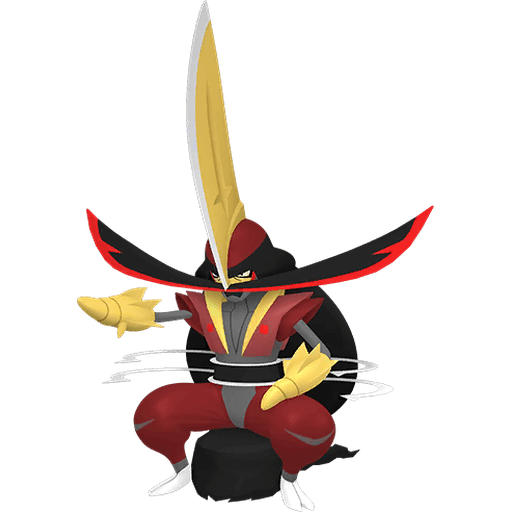
Urshifu (Rapid Strike) — doubles specialist
Water + Fighting coverage hits Rock, Poison, Ice, Dark, and Steel types super-effectively — an enormous slice of common threats. Surging Strikes' three-hit structure breaks resist berries on the first contact, so the remaining hits land at full belt-boosted super-effective damage (see counter section below). In doubles it can attack turn 1, then Protect turn 2 while a partner cleans up — no lock risk at any point.
Skip Expert Belt when: your mon primarily fires its STAB into neutral targets. A mono-Fire attacker clicking Flamethrower into neutral matchups gains nothing from the belt. Life Orb's unconditional ×1.3 is the better call there.
How to use it
Before the game starts: during Team Preview, map out which of your coverage moves hit which of the opponent's team members super-effectively. Expert Belt earns its slot in proportion to how many of those matchups you can realistically execute. If you can count three or more common targets that will take SE hits, belt is justified. Fewer than that and you're probably better served by Life Orb.
Singles turn pattern — the switch-punishment read:
- You lead or pivot to Garchomp. Opponent's Rocky/Steel-type is on the field.
- You expect them to switch in a Water-type to threaten Garchomp.
- If you have Stone Edge in the moveset, you stay and click it on that predicted Water switch-in — super-effective, belt fires, damage is decisive.
- If you read wrong and they stay, you pivot out. No harm done: unlike a Choice item, you haven't locked yourself and you haven't announced your full hand.
Always verify KO thresholds against your actual Stat Points spread. Champions' 32-point cap produces noticeably different damage figures than the 252-EV calculations you'd find on Smogon — run the numbers against your real build.
Doubles turn pattern — attack then flex:
Turn 1: Urshifu clicks Surging Strikes into a super-effective target. Belt fires on all three hits. Partner uses a support move or attacks the other side.
Turn 2: Opponent likely switches in something to threaten Urshifu. Urshifu freely Protects. Partner pivots in a check for the incoming threat. Zero risk from move lock at any point.
Spread move note: Rock Slide in doubles already takes ×0.75. Against a super-effective target: ×0.75 × ×2 × ×1.2 = ×1.8 versus the neutral baseline. Solid and worth doing. Earthquake hits the same math but also strikes your own partner — confirm Ground immunity or a Protect plan before clicking it.
HP preservation payoff: the belt doesn't degrade, consume, or drain anything. Switch freely, absorb chip, and return at full HP. That's a real edge in games that go to the fifth or sixth mon.
Tips & strategy
Common mistake autopsy — belt on a narrow attacker: the classic beginner error is slotting Expert Belt onto a mon whose coverage hits maybe one super-effective matchup per game. The other five turns it clicks neutral moves, and the belt contributes exactly zero. The fix is simple: before building, list every type you hit super-effectively with your coverage moves and count how many top-usage opponents fall into those buckets. If it's two or fewer, switch to Life Orb. The belt is a frequency play, not a situational insurance item.
The Life Orb crossover point: a rough decision heuristic — if more than 60% of your expected attacks in a game hit super-effectively, Expert Belt wins on net because zero HP drain compounds across a long game. Below 40% SE frequency, Life Orb's unconditional boost wins. In the middle, it depends on how much attrition risk your team can absorb.
Counter #1 — Resist Berries: an opponent holding Occa Berry or any matching resist berry takes ×0.5 on that super-effective hit type. Stacked against your belt's ×1.2: ×0.5 × ×2 × ×1.2 = ×1.2 net — barely above a neutral unboosted hit. The berry completely neutralizes the belt and you've wasted the attack. Urshifu's Surging Strikes is one of the very few ways around this: the first hit pops the berry, subsequent hits in the same turn land at full ×1.2 super-effective damage. For single-hit moves, read your opponent's likely berry holders before committing.
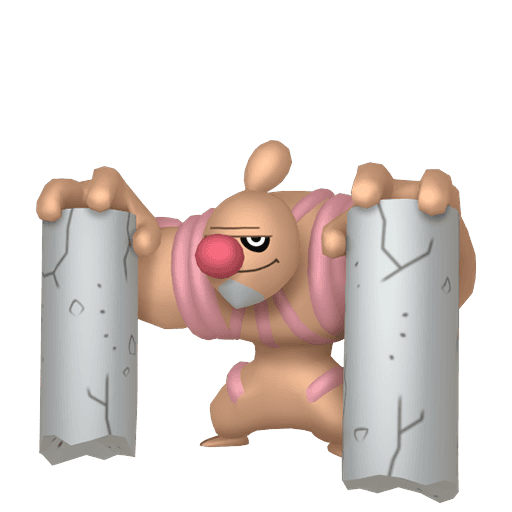
Counter #2 — Damage-reducing abilities: Solid Rock, Filter, and Prism Armor reduce super-effective damage to ×0.75. Applied against your belt: ×0.75 × ×1.2 = ×0.9 — you're dealing less damage than if you had no item at all. Against Rhyperior (Solid Rock) or similar walls, Expert Belt is actively a liability. Switch the attacker, or use a coverage move that doesn't go through the super-effective path.
Status limits in Champions: Paralysis only triggers full immobility 12.5% of the time. Sleep caps at 3 turns. Freeze caps at 3 turns with a 25% thaw chance each turn. You cannot rely on status conditions to keep a Expert Belt target in place long enough to farm repeated super-effective hits. The correct play is to use the belt aggressively on the first correct read — force the switch, take the KO, and move on. Holding back waiting for ideal conditions usually means the opponent rotates away and the belt does nothing.