





























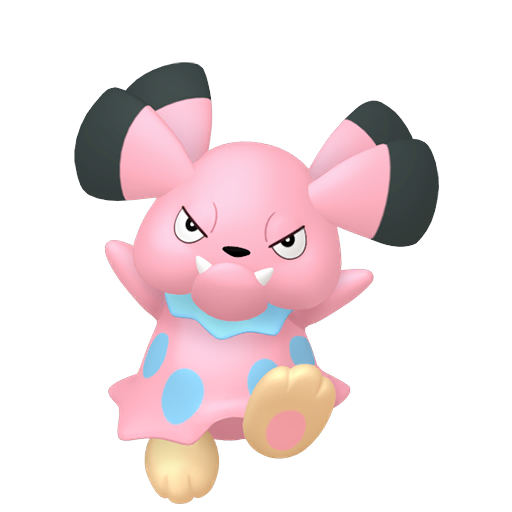

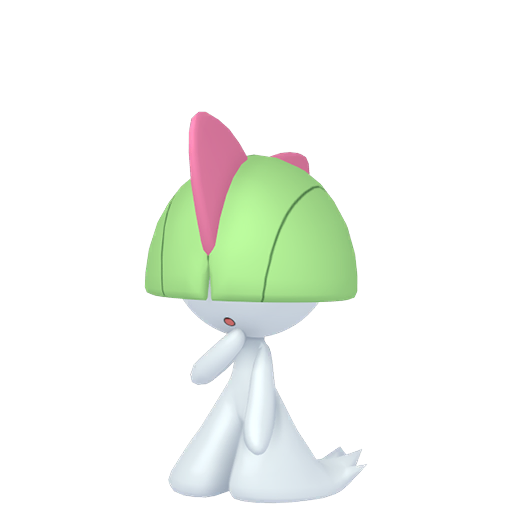
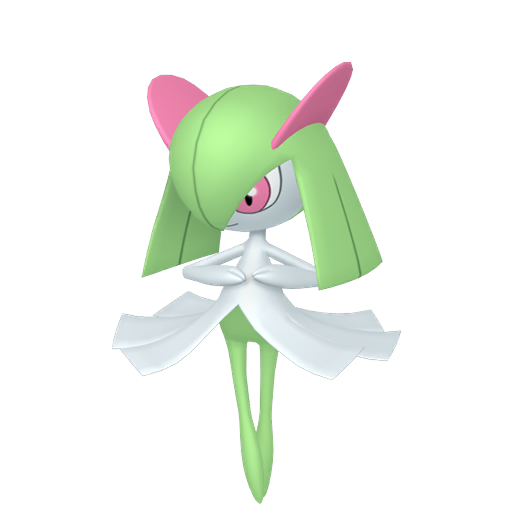












































What it does
Dazzling Gleam is an 80-power, 100-accuracy special Fairy move that hits both opposing Pokémon simultaneously in doubles. Its competitive value is not raw power per hit — it's two targets in one action slot.
Work the number out first. Spread moves in doubles apply a fixed ×0.75 multiplier. Effective single-target power = 80 × 0.75 = 60. Compare that to Moonblast at 95 — when you're only hitting one target, Dazzling Gleam is roughly (95−60)/95 ≈ 37% weaker. That's not a small gap. Moonblast beats it cleanly in any single-target situation.
Where does Dazzling Gleam overcome that deficit? Type matchup. Fairy hits Dragon, Dark, and Fighting at ×2. After the spread penalty, the real multiplier on those types becomes 0.75 × 2.0 = ×1.5, which is equivalent to a neutral move with base power 120. Against a double Dragon lead where both opponents are weak to Fairy, one Dazzling Gleam delivers roughly 3× the total damage output of Moonblast into a single target. The action economy makes Dazzling Gleam the obvious call.
Flip the situation: if neither or only one opponent is weak to Fairy, the 60 effective power falls well short of Moonblast and you should change your selection. When calculating KO thresholds in doubles, always use 60 as your baseline — not 80. Using 80 will systematically overestimate damage and cause missed KOs at the worst moments.
Dazzling Gleam is native Fairy — it doesn't need Pixilate to get STAB. Pixie Plate adds ×1.2 directly, or lean into the Helping Hand synergy (covered below) for bigger doubling payoffs.
Who runs it
The core users are specially-oriented Fairy types that can safely stand on a doubles field.
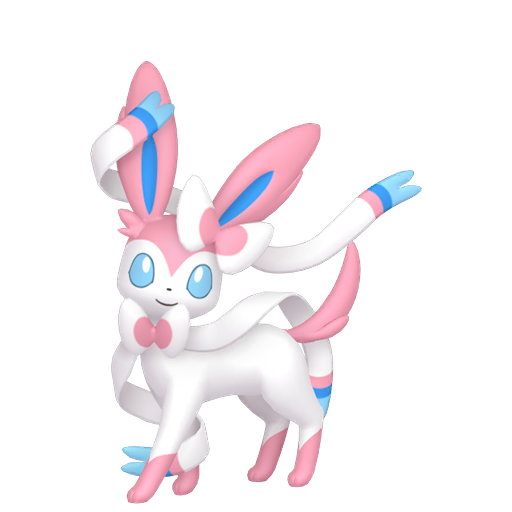
Sylveon: The most consistent doubles Fairy attacker. Pixilate converts Hyper Voice into a spread Fairy move, overlapping somewhat with Dazzling Gleam's role. The difference: Hyper Voice benefits from Pixilate's ×1.2 bonus, while Dazzling Gleam is native Fairy (no ability needed) and carries higher PP. Most builds choose one based on the team's needs — both hit both sides, but Hyper Voice wins on power if Pixilate is active. Sylveon's low Speed means you need to plan action order carefully before clicking either spread move.
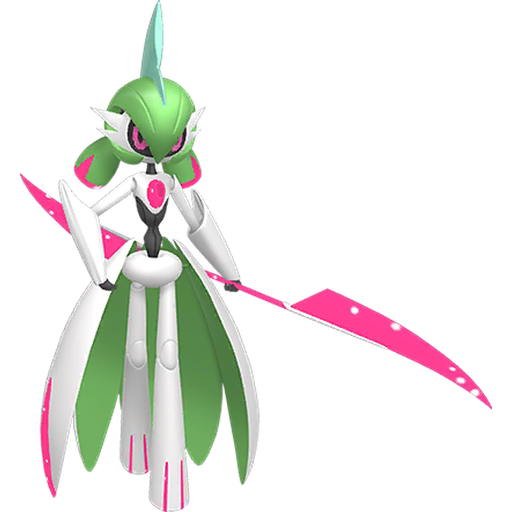
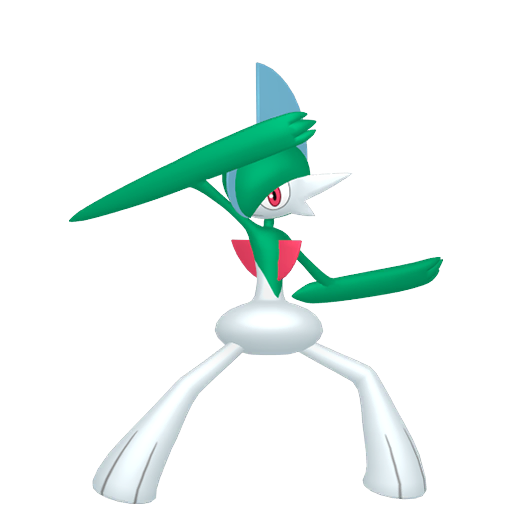
Gardevoir with Gardevoirite: After Mega Evolution, Special Attack reaches the top tier of the format. Dazzling Gleam off a fully Stat Points-invested Mega Gardevoir tears through lighter doubles targets on both sides simultaneously. Importantly, the Mega Special Attack boost applies in the same turn the evolution happens — your first-turn Dazzling Gleam is already Mega-powered. One Mega Stone per team; confirm nothing else on your roster wants it.
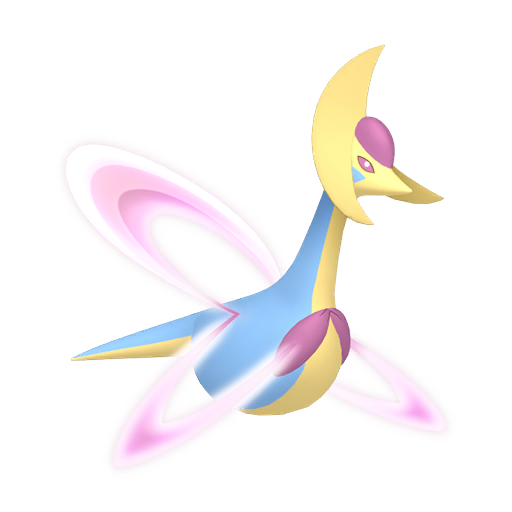
Togekiss: Built for doubles. The classic pairing is a partner running Follow Me — partner absorbs incoming attacks for a turn, Togekiss safely clicks Dazzling Gleam and spreads damage across both opposing Pokémon. After the redirect turn, assess whether to continue spreading or pivot to a single-target follow-up. Speed investment determines whether Togekiss can outspeed and threaten specific benchmarks before the redirection expires.
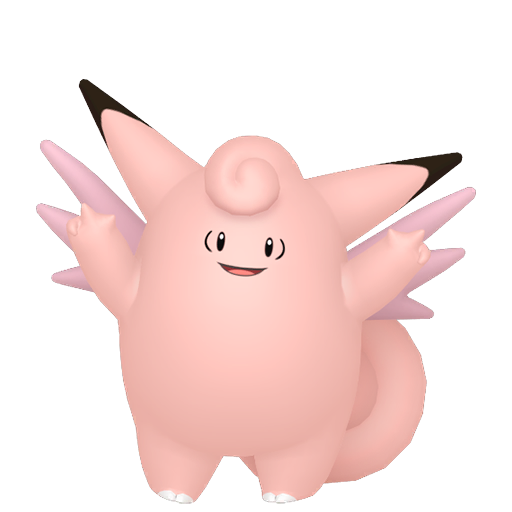
Primarina: Water/Fairy typing with a clean movepool. Dazzling Gleam slots naturally as the Fairy STAB in doubles. In singles, Moonblast takes precedence, but Dazzling Gleam works as a PP backup or when the coverage slot is tighter.
In singles, almost all of these users default to Moonblast — the 95 power and 30% Special Attack drop chance are better. Only swap to Dazzling Gleam if PP runs out or there's a specific reason you want to avoid the drop chance (e.g., you're trying to stay in a damage window where the drop would matter for your opponent).
How to use it
Scenario 1: Scouting a double Dragon or double Dark/Fighting lead
This is the cleanest Dazzling Gleam window. Opponent shows something like Dragonite + Hydreigon on team preview. Your Fairy attacker comes in safely. Turn 1 sequence:
- Partner uses Fake Out to flinch the faster of the two opponents.
- You use Dazzling Gleam, hitting both opponents — the flinched one can't attack, the other eats the hit.
- Turn 2: both opponents carry damage, flinch wears off. Re-evaluate KO thresholds and decide between finishing a target or spreading again.
Even when the opponent predicts and switches, the spread damage forces a choice — both incoming switch-ins enter already at chip damage if the switch happens mid-turn.
Scenario 2: Helping Hand setup
Helping Hand's ×1.5 boost applies before the spread multiplier. Net modifier: 1.5 × 0.75 = ×1.125. Effective single-target power becomes 80 × 1.125 = 90, and you're applying that to both opponents: total output value equivalent to a 180-power move across two targets in one turn. Partner Helping Hand into your Dazzling Gleam is one of the cleanest doubles burst combos available to Fairy teams.
Scenario 3: Identifying Wide Guard threats
Wide Guard fully blocks all spread moves, Dazzling Gleam included. If your opponent runs a Wide Guard user (Hitmontop, Kommo-o, others), they can blank your entire turn by predicting the spread. Counter-play: if you suspect Wide Guard, switch to a single-target move that turn, or have your partner threaten the Wide Guard user into not using it.
Tips & strategy
Steel types are a hard wall. Fairy does zero damage against Steel. Heatran, Corviknight, Ferrothorn — if any of these are on the opposing team, Dazzling Gleam is turned off as a primary option. Team preview is your warning: spot steel early and plan around it. Poison types resist Fairy at ×0.5 — Amoonguss and Toxapex are common doubles staples that absorb Dazzling Gleam comfortably and need to be answered with coverage elsewhere.
Common-mistake autopsy: calculating KO thresholds at 80 power in doubles. This is the single highest-frequency Dazzling Gleam error. A player builds or preps mentally with "80 power Fairy move," predicts they'll KO a target, then watches it survive with a sliver because the actual spread-adjusted power was 60. The target hits back and the game swings. The fix is mechanical: internalize the numbers. In doubles, Dazzling Gleam base is 60. With Helping Hand, it's 90. Under Fairy-weak super-effective (×2), those become 120 and 180 respectively. Run these in your damage estimates, not 80.
Stat Points allocation: Special Attack capped at 32 (the hard ceiling in Champions) is the obvious investment for a spread attacker. Speed allocation is target-specific — identify the exact benchmark you need to outpace (a specific opposing Pokémon's Speed stat range), invest just enough points to clear it, and channel the remainder into bulk or additional Special Attack. Don't copy EV spreads from other formats; Champions runs a 66-point total with a per-stat cap of 32, which changes every distribution decision.
Status support worth pairing: Thunder Wave from a partner reduces opposing Speed, letting slower spread attackers like Sylveon move first. Note that paralysis in Champions inflicts full-stop at 12.5% (not 25%) — it halves Speed reliably, but don't count on the full-stop to save a KO math that doesn't otherwise work.