




What it does
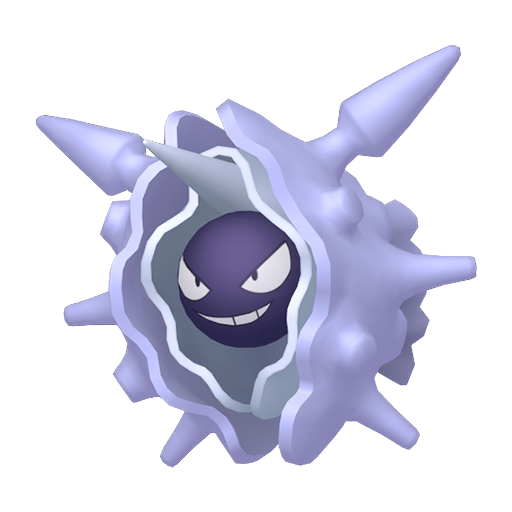
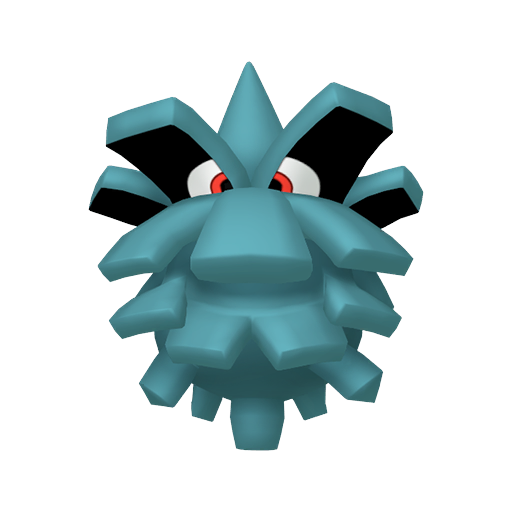
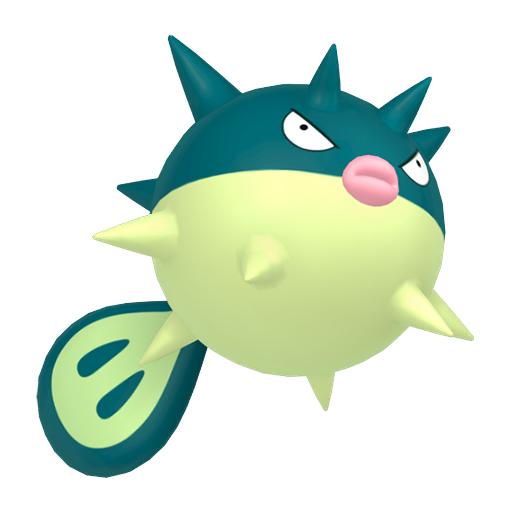
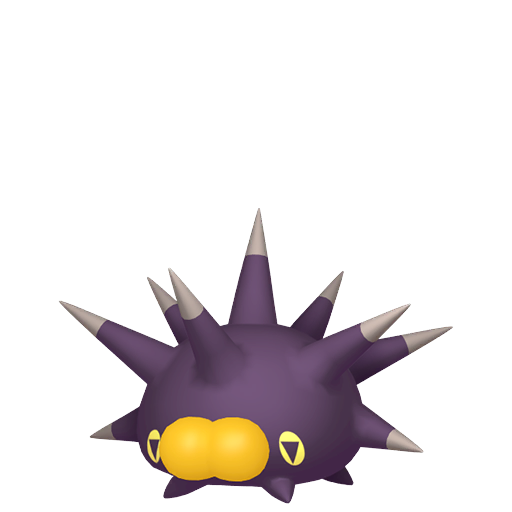
Spikes scatters spikes on the opponent's side of the field. Every time an opposing grounded Pokémon switches in, it takes damage: 1/8 HP at one layer, 3/16 at two layers, 1/4 at three layers. Flying-types and Levitate users are immune. Maximum three layers.
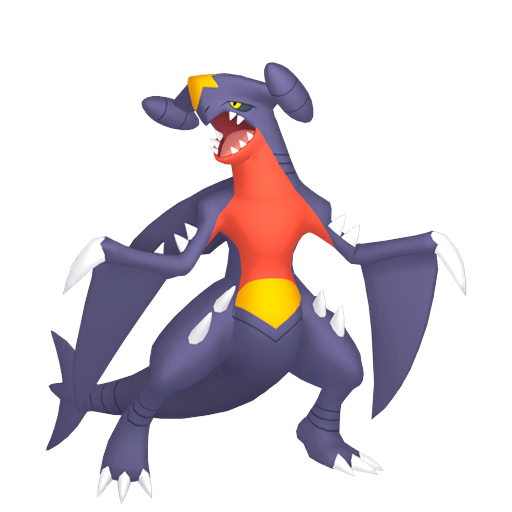
A concrete number to anchor the value: take a well-invested defensive Garchomp switching into three layers — it enters at 75% HP. An opposing coverage move that would normally roll a 2HKO at full health now one-shots it off a single hit, because the switch shaved the buffer the second attack would have needed. No attack was wasted, no extra turn was spent. That is the actual contribution of Spikes: converting 2HKOs into 1HKOs, collapsing two-turn closings into one. You don't even need three layers to trigger this. Layer two (3/16, roughly 19%) already shifts the KO threshold for many 80–100 base Speed physical attackers the opponent pivots repeatedly. That's often enough to win the math war.
Spikes and Stealth Rock stack independently. Rocks cover Flying-types that Spikes misses; Spikes accumulates on the grounded Pokémon the opponent keeps cycling in. Both together means almost every switch bleeds.
In Doubles, Spikes is nearly worthless. Games run short, switches are rare, and three layers rarely land before the match ends. This is a Singles tool, full stop.
Who runs it
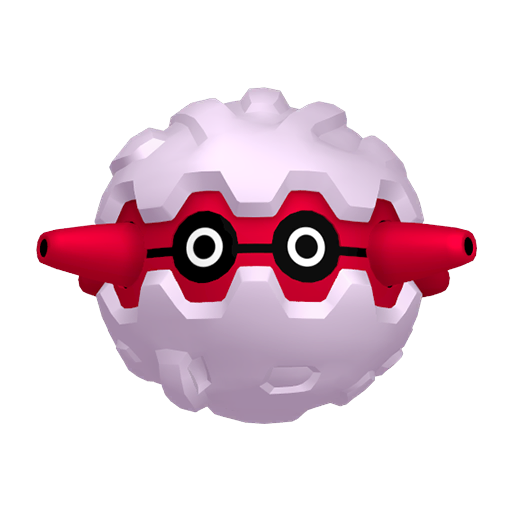
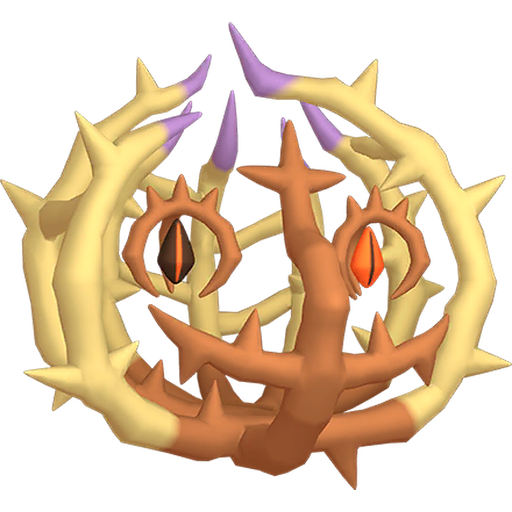
Ferrothorn — the switch-magnet setter. Steel/Grass gives it stacked resistances against Water, Rock, Grass, and Poison attacks, forcing opponents to rotate repeatedly to find an angle — which is exactly when Spikes trigger. Pair it with Rocky Helmet and a physical attacker switching in eats 1/6 from contact plus up to 1/4 from Spikes: a single switch can cost up to 41.7% HP without a single offensive move being used.
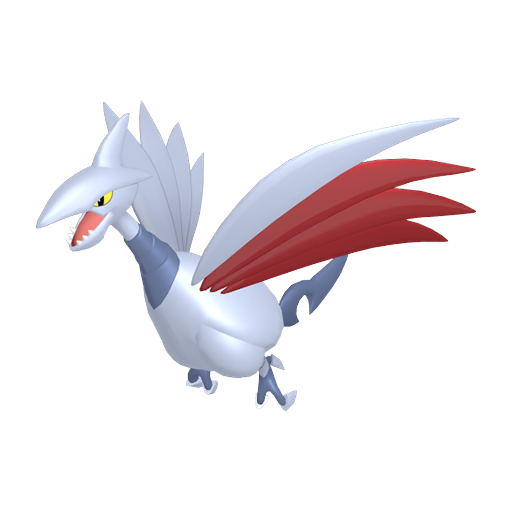
Skarmory — the active funneler. Steel/Flying means it is naturally immune to its own Spikes and can run Whirlwind to force-eject whatever the opponent sent in, replacing it with a random back-bench Pokémon that walks directly into the spikes. The opponent is stuck: don't switch and face Skarmory's wall presence, or switch and eat the hazard — both outcomes work in your favor.
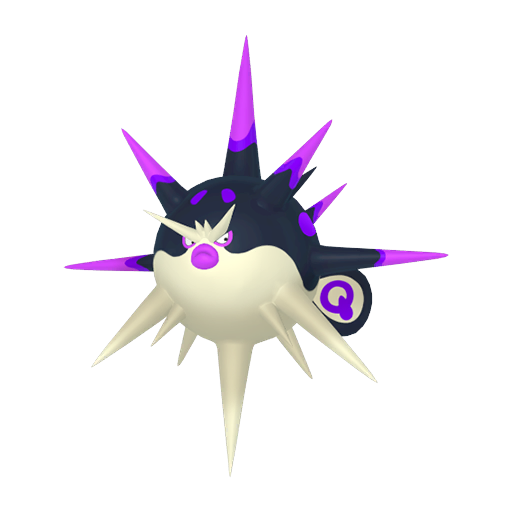
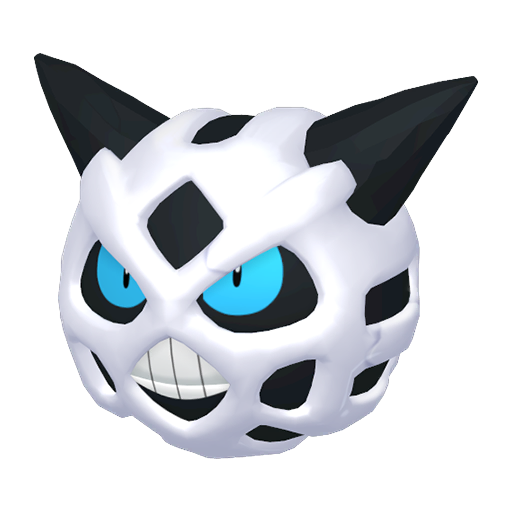
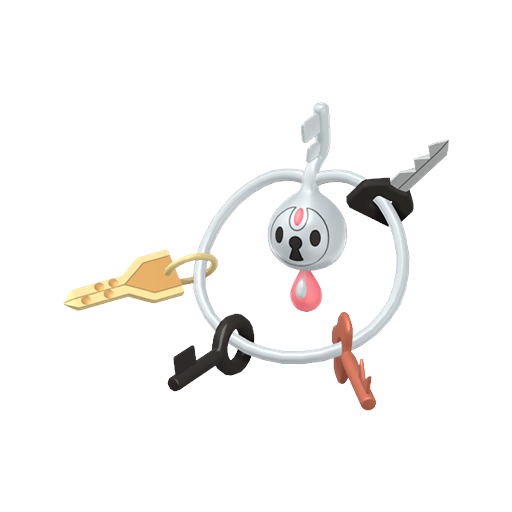
Froslass — fast setter and spinblocker in one. Base 110 Speed means it usually moves first on turn one to drop Spikes, then uses Ghost typing to block Rapid Spin (Normal moves don't hit Ghost). Even after it faints, the hazards stay locked. Typical lead pattern: turn 1 Spikes, turn 2 second layer or switch to safety, opponent cannot clear without going through a Ghost.
Excadrill — the hazard-war swing player. It learns both Spikes and Rapid Spin, which makes it a versatile piece for hazard-control teams that want to keep their own side clean while threatening to set or re-set. The caveat: Rapid Spin fails against Ghost-types, so clearing blockers first is mandatory before relying on the spin.
The Mega Evolution slot shouldn't carry Spikes. The Mega Stone fills the held-item slot, and Mega turns belong to offensive output. Delegate hazard setup to a non-Mega wall with a passive item; the Mega pushes the damage those hazards set up.
How to use it
Turn one is usually the correct time to set. The earlier Spikes land, the more switch-ins accumulate damage across the game. Delay by one turn and you statistically lose one or two triggers across the match — those triggers are often the margin.
Layer cadence — know when to stop. Layer one (1/8) creates psychological pressure and plants doubt in the opponent's switching logic. Layer two (3/16) is the inflection point: many standard offensive builds tip into one-shot range after a switch eats two layers, and the game's winner often becomes clear here. Layer three (1/4) is a luxury you reach only in drawn-out games, but once it's up, every opposing switch is a 25% toll. Critically: if you can win with two layers, don't waste a turn on the third. A wasted layering turn is a free turn handed to the opponent.
Spinblocking — keeping the hazards alive. Every Spikes team needs a Ghost-type on standby. When the opponent telegraphs Rapid Spin, switch in the Ghost — the spin fails, the Spikes survive. If the opponent runs Defog instead of Rapid Spin, a Ghost cannot block it; you need to directly threaten or eliminate the Defog user. These two removal tools require fundamentally different counterplay. Identify which one you're facing during Team Preview.
The singles decision tree under Spikes: opponent switches in a Flying-type? Hazards don't matter — do normal damage math. Opponent switches in a grounded attacker? First calculate their remaining HP minus Spikes damage, then check whether that total puts them into KO range on this turn. Two layers in, many situations where you'd normally throw a neutral hit become clean KO opportunities with coverage instead.
Tips & strategy
Common-mistake autopsy — Spikes that do nothing. The most frequent error is committing to stacking three layers of Spikes against a team with a visible Defog user (think Mandibuzz or a Defog Zapdos) without first dealing with that removal tool. Three wasted turns of layering, one Defog, and the board resets to zero. The fix: use Team Preview to identify the removal method before deciding whether Spikes is worth bringing at all. If you cannot clear the Defog user, the Spikes turns are a donation. Sometimes the right call is to skip Spikes entirely and run a different win condition against that matchup.
Defog's double-edged nature: Defog clears hazards on both sides simultaneously. If you also have Stealth Rock down, the opponent's Defog removes their own hazards too. This creates a leverage point: if the opponent clears your Spikes with Defog, immediately re-set them. You spent one turn; they spent one turn plus lost their own entry hazards if any were present. Sometimes the correct play is to invite the Defog and immediately re-establish your advantage.
Heavy-Duty Boots is a hard off-switch: any Pokémon holding this item is fully immune to all entry hazard damage. If Team Preview shows that the opponent's core threats all carry Heavy-Duty Boots, investing turns in Spikes is resource misallocation. Redirect to direct offensive pressure.
Stack with passive damage: Spikes and Toxic together define attrition play. A switch-in eats 1/8 from Spikes and starts the poison clock — within three or four turns a full-HP Pokémon crosses the KO threshold without requiring a single point of offensive damage. Iron Barbs with Rocky Helmet on Ferrothorn triggers contact damage on top of Spikes, meaning a single switch-in against Ferrothorn under full Spikes can erase close to half a health bar before the turn even resolves.
Gravity expansion: under Gravity, Flying-types and Levitators lose their immunity and take Spikes damage normally. If your team runs Gravity support, what looks like a hard counter to Spikes becomes another switch-in liability. Flying-type immunity stops being a free pass.
The counter profile: Spikes is hard-countered by a Defog user paired with Heavy-Duty Boots on the key threats. When an opponent brings both, Spikes becomes a liability rather than an asset. Recognize that matchup early and redirect resources toward direct attacking — don't stubbornly keep layering into a wall that will never pay off.