








What it does
Focus Sash does exactly one thing: when the holder is at full HP and takes a hit that would knock it out, it survives at 1 HP instead. Single use; once it triggers, it's gone.
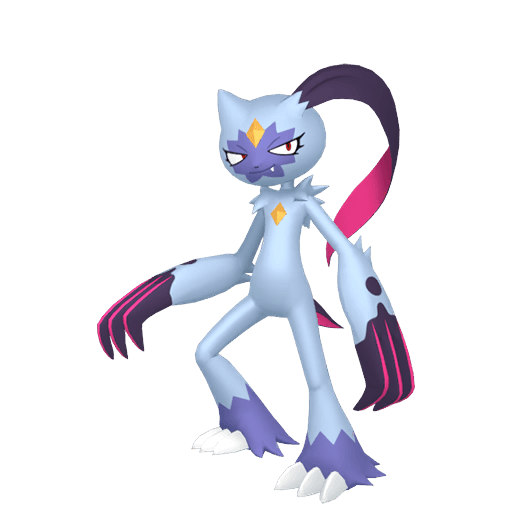
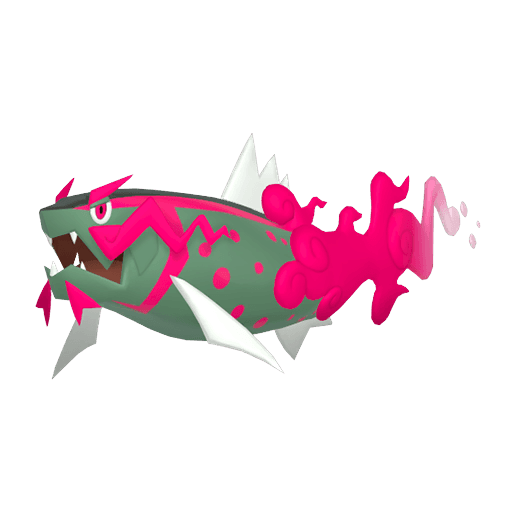
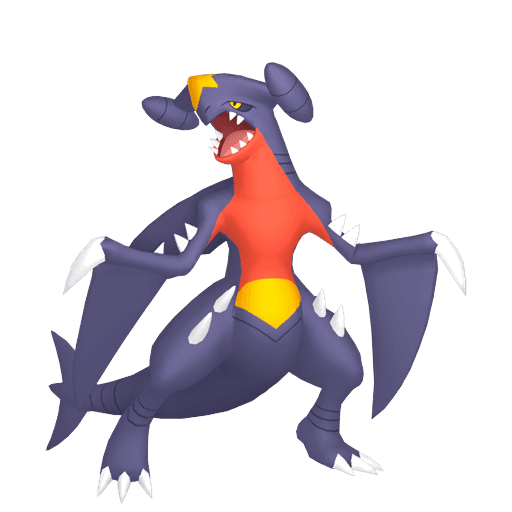
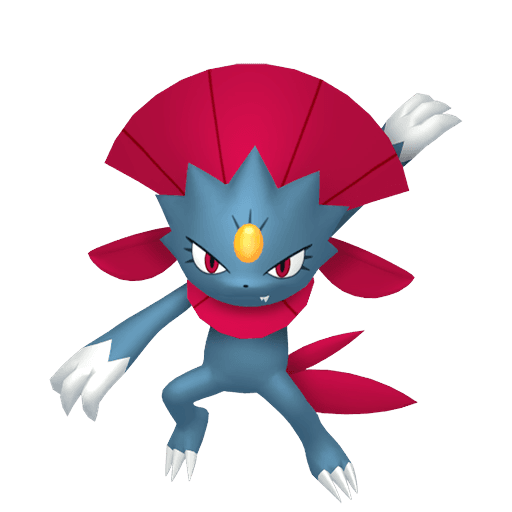
Worked number: Garchomp sits at roughly 167 HP at Lv50. Weavile's Icicle Crash hits at 2× against it, projecting around 170–200 damage — a clean OHKO range. With Sash, Garchomp drops to 1 HP and fires back with Earthquake or walks Swords Dance instead. That reversal is the whole pitch.
One hard condition: the holder must enter at full HP. In singles, Stealth Rock is the biggest problem. A Pokémon weak to Rock-type takes 1/4 max HP on switch-in — for a 167 HP Garchomp, that's 41 HP gone before the opponent even moves, and Sash is dead. This is why singles Sash teams almost always pair the holder with a Rapid Spin or Defog user. Doubles has no entry hazards at all, so Sash runs at full reliability there from the jump.
Champions uses Mega Evolution through the Omni Ring, and every Mega must hold its Mega Stone. That means Mega users are locked out of Sash entirely. It concentrates on non-Mega support leads and dedicated counter-attackers.
Who runs it
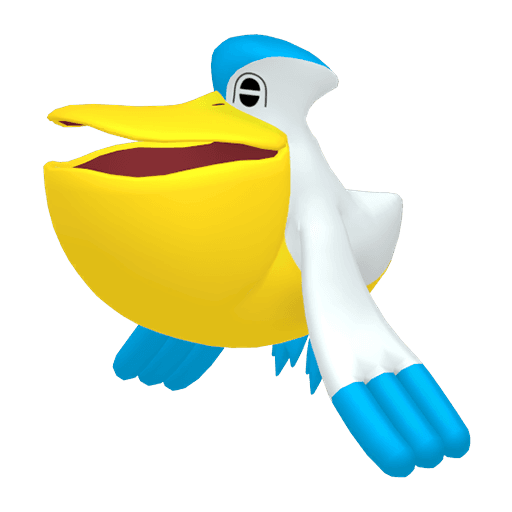
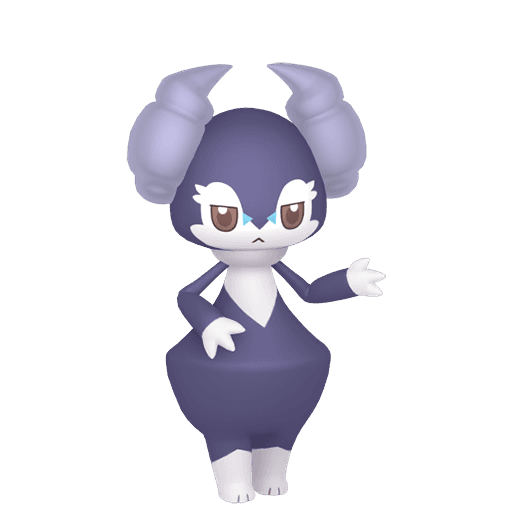
Tailwind setters: Pelipper is the textbook case. Its job is to live through turn 1 and get Tailwind up. Tailwind doubles Speed for the whole team — even if Pelipper faints next turn, the trade is already won. Sash converts "hope they don't OHKO me" into a guarantee, which completely changes how you build and pilot doubles teams around it. Grimmsnarl running Light Screen / Reflect works the same way.
Sleep disruptors: Smeargle with Spore plus Sash. Champions caps sleep at 3 turns (shorter than older formats), but three lost turns is still a massive tempo swing. Sash guarantees the Spore lands even if the lead would have been OHKOed on the same turn.
Counter-attack pivot: Wobbuffet's Shadow Tag prevents the opponent from switching — combine that with Sash and Counter / Mirror Coat, and you trap them into eating a doubled-damage payback. Sash ensures Wobbuffet survives the initial hit to fire the counter move, and the trapping ability means they can't dodge it afterward.
How to use it
Doubles turn pattern (standard Sash lead pair):
- Turn 1: Pelipper uses Tailwind, reading that the opponent will OHKO it. Opponent fires the OHKO move. Sash triggers, Pelipper sits at 1 HP, Tailwind is up.
- Turn 2: Pelipper has done its job. Switch it out or use a follow-up support move — even if it faints here, the team is already Speed-boosted.
Singles decision tree (if-then):
- If the incoming move is a confirmed single-hit OHKO → stay in, let Sash eat it, revenge kill or set up next turn.
- If the incoming move is multi-hit (Rock Blast, Bullet Seed) → Sash only saves you from going to 0 HP on the first hit; subsequent hits land on your 1 HP and KO you anyway. Switching is the correct line.
- If sandstorm is active or you're burned → Sash triggers, leaves you at 1 HP, then end-of-turn damage kills you before you act. Factor end-of-turn timing before committing.
Protect synergy: In doubles, standard play is to Protect turn 1 to scout what the opponent does, confirm whether an OHKO is incoming, then take the hit on turn 2 (when you have the full information). This prevents wasting Sash against a non-lethal hit.
Tips & strategy
Common-mistake autopsy: The most frequent beginner error is leading Sash support into a Fake Out user. Fake Out doesn't OHKO, so it doesn't consume Sash — but it causes flinch, blocking your support move. The opponent's partner then hits your lead (now at whatever HP from Fake Out's chip), either KOing it cleanly before Sash was ever relevant, or forcing it into a dead-end 1 HP position where Tailwind or Spore never went off. The fix: when team preview suggests the opponent runs a Fake Out lead, either Protect the support mon on turn 1 or put your Sash mon on the non-Fake Out target slot. Don't walk straight into flinch with your setup move queued.
Hard counter: multi-hit with Skill Link: Cloyster running Skill Link + Icicle Spear (five guaranteed hits) completely bypasses Sash. First hit brings the target to 1 HP; hits 2–5 continue resolving on that 1 HP. Sash offers zero protection. Cloyster is the most recognized Sash counter in doubles — when it's in team preview, your Sash support either needs to Protect or be shifted to a different position so Icicle Spear doesn't connect in the first place.
Knock Off timing oddity: Knock Off removes the held item before calculating damage. If the hit is not lethal on its own, the Sash is gone but never triggered — you survive at reduced HP with no item and no future safety net. If Knock Off alone would OHKO, Sash does trigger (leaving 1 HP), but the item is still removed. In practice, the first scenario happens most often: Knock Off chips without killing, strips Sash invisibly, and the next hit finishes the job cleanly. Check opposing movepools for Knock Off before leaning on Sash as a late-game safety valve.