

















What it does
Recover restores exactly 50% of the user's max HP, no conditions attached.
The competitive value is in the economics. To actually advance your opponent's damage total, they need to deal meaningful damage on two separate turns without you getting a recovery window in between. One use of Recover and the first hit is gone — their turn is refunded to zero. That's not a slight advantage, it's a structural one: you're demanding two good hits before a wall concedes anything.
Contrast that with Leftovers: 1/16 per turn (about 6.25%). If an opponent deals 50% in one shot, you need eight Leftovers ticks to undo it — eight turns in which they'll land the second hit. Recover is instant reset. The two aren't in competition; stacking both is correct and intentional (Leftovers triggers on the same turn you use Recover, so you're actually recovering just over 50% when both fire).
Champions' nerfed status conditions make Recover more reliable than in Scarlet/Violet. Thunder Wave's full-stop chance is 12.5%, not 25%. Sleep caps at 3 turns, freeze at 3 turns too. The window where an opponent can chain status into "you never get to Recover" is narrower, which is a direct buff to recovery-based walls.
Damage rolls in Champions land anywhere between 85% and 100% in 16 discrete steps. That randomness cuts both ways — an unlucky high roll can deal more than you expected, but Recover erases it before it compounds. Over many turns, erasing individual high rolls reduces your cumulative KO probability more than the raw number suggests.
Who runs it
Archetype one: status immunity plus attrition loop.
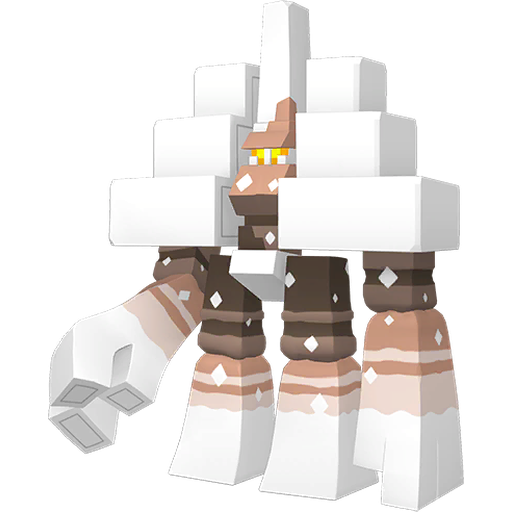
Garganacl is the clearest Recover carrier in the format. Purifying Salt gives complete status immunity plus a 50% SpDef boost, Salt Cure bleeds opponents for 1/8 max HP per turn (1/4 for Steel and Water types), and Wide Guard covers partners from spread moves. Recover is the fourth piece that makes the whole structure self-sustaining. Without it, Salt Cure chip that takes six turns to add up gets erased by a single switch — with it, Garganacl is doing damage every turn while continuously topping itself off. Leftovers stacked on top means opponents without Taunt or overwhelming immediate power cannot remove it within a normal game timeline.
Archetype two: reactive boost plus damage buffer.
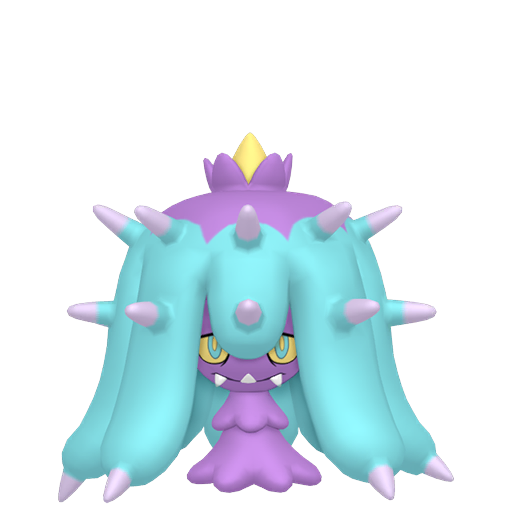
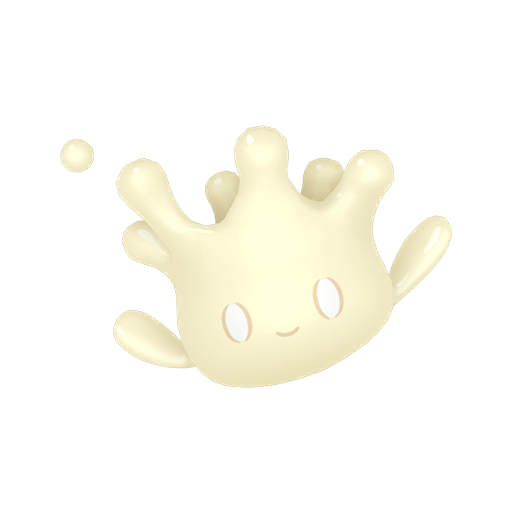
Milotic runs Competitive: every time it gets a stat lowered, Special Attack jumps two stages. Opponents face a binary problem — hit it directly or use Icy Wind/Parting Shot to weaken it. Direct hits are what Recover is designed to absorb. Softening moves trigger Competitive and give Milotic the boost it wanted. Either path benefits it. Recover in this context isn't just survival; it's forcing opponents into the Competitive trap by making the "just hit it hard" line not work in one shot.
Archetype three: stacking passive recovery.
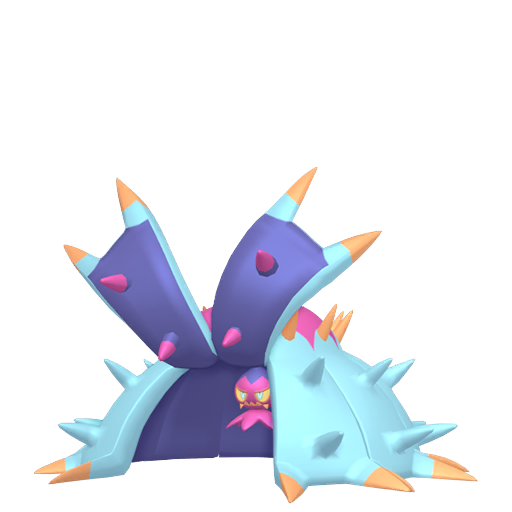
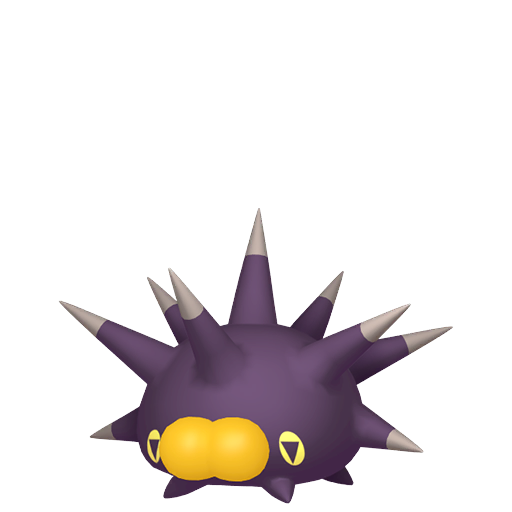
Toxapex has Regenerator — 30% HP restored on switch. In theory it can cycle in and out to stay healthy. In doubles practice, there isn't always a safe switch window. Recover provides in-field recovery that works alongside Baneful Bunker (contact burn) and Toxic (escalating residual), giving it three independent damage sources on opponents while taking near-zero damage itself. Roughly 45% of Toxapex sets carry Recover precisely because singles recovery mechanics don't translate cleanly to doubles pacing.
Other uses.
Starmie builds around Minimize + Cosmic Power + Recover, using Natural Cure to cleanse status on switch-in. The premise: evasion eventually causes most attacks to miss; Recover handles the ones that land. In singles, any Toxic stall structure needs Recover to make the math work — the stall equation only favors you if you're still alive to collect the chip.
How to use it
The damage threshold that matters. Don't use Recover the moment you take any damage. At 20% HP loss, use your offensive or utility move. At 35–50%+ loss with the next hit likely finishing you, that's the Recover window. Using it at 75% HP to top back to 100% wastes an attack turn and gives your opponent a free action. The goal isn't staying at full health — it's resetting before the finish line is reached.
Singles: the Toxic math model. Toxic residual scales each turn: 1/16, 2/16, 3/16 upward. You use Recover every other turn or so to absorb 50%. As long as your opponent cannot deal 50%+ in a single hit, the net HP exchange runs in your favor every two-turn cycle. This model has one hard prerequisite: confirm your opponent cannot 2HKO you before committing to the style. Check your damage calcs at team-building. If a physical attacker can break 50% per hit, the entire stall structure collapses — you're not healing faster than you're dying.
Doubles: the Protect rotation. Protect and Recover are your two defensive turns; they can't both happen in the same turn. Standard rotation: turn one Protect to scout targeting, turn two Recover if opponents redirected pressure elsewhere. Don't use two consecutive Protect turns before recovering — the second consecutive Protect succeeds at 25% probability, and experienced opponents will simply attack on the recovery turn after a Protect chain. Read the opponent's targeting pattern, not just your own HP bar.
Redirection timing. If a partner is running Follow Me or Rage Powder, coordinate explicitly: they absorb all attacks for one turn while you recover safely. This is the most reliable way to get a "free" Recover in doubles — far more reliable than reading a switch.
Switch-read windows. When opponents swap their damage dealer out, that's generally a good Recover turn. When they swap a heavy hitter in, use Protect instead — new switchins immediately threaten high-damage output, and Recover is a commitment that can get punished on that exact turn.
Tips & strategy
What turns it off.
Taunt is the hardest stop — all non-damaging moves fail for two turns immediately. Gyarados carries it at over 50% frequency, making it the most common wall-breaker in the format by usage. Your options against it: Mental Herb (removes Taunt one time for free), or switch out before the next turn begins. If your team builds around Recover walls with no Taunt counterplay built in, that's a structural hole, not a matchup issue.
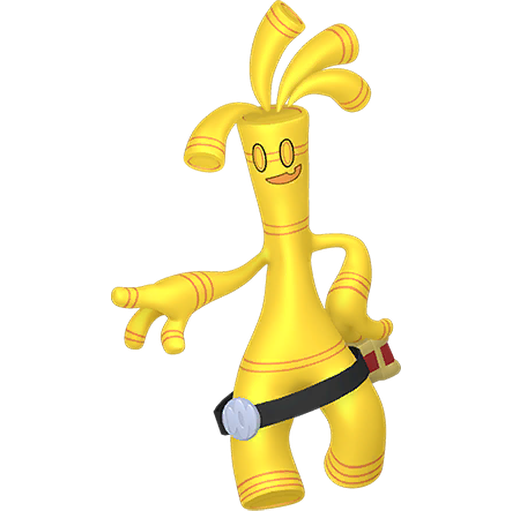
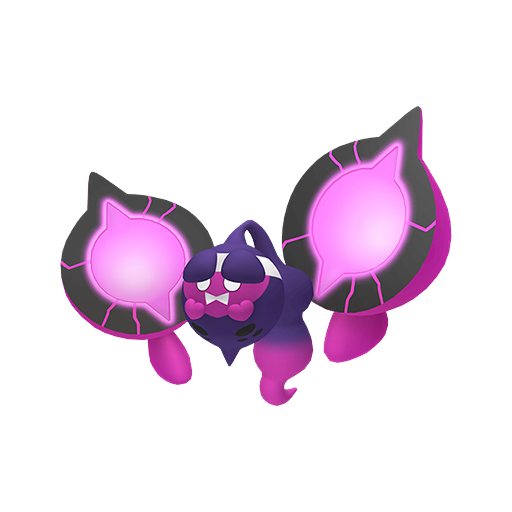
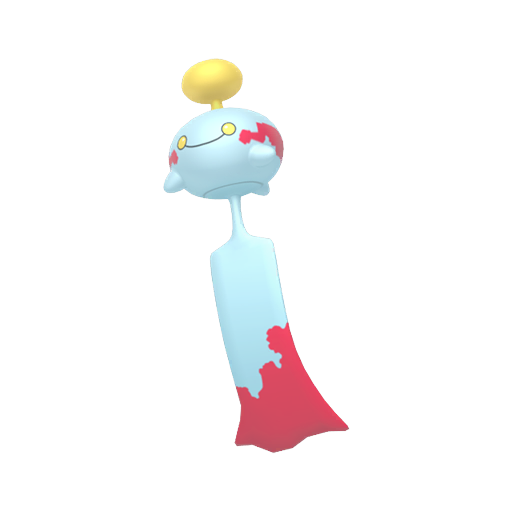
Psychic Noise is the sneakier problem. It prevents HP recovery for 2 turns after hitting — and critically, Recover doesn't announce that it failed. You burn the action and restore zero HP. Slowbro and Chimecho both use it. If either is in play, don't queue Recover until the suppression clears. During those two turns, switch or attack instead of wasting the slot.
High-speed assault (Choice Scarf revenge killers in singles): the strategy is to string hits faster than you can recover, aiming to hit 2HKO thresholds before Recover can reset them. This isn't solved by Recover itself — it's a team structure problem. Defensive cores need speed control (Icy Wind, Thunder Wave, Sticky Web) from partners, or the Scarf mon needs a check that isn't the recovery wall.
Trick / Switcheroo: locking a Choice Scarf or Choice Band onto your wall forces it to repeat the same move each turn. Locked onto Recover, it can't attack; locked onto an attack, it can't recover. Know which opponents in the format carry Trick and plan accordingly.
Common mistake autopsy: recovering too early.
The most consistent beginner error: HP is at 75% and the player uses Recover out of anxiety. The instinct is "HP isn't full, fix it." The actual cost is: one full turn of your own offensive or utility output surrendered for a recovery that didn't change any outcome. Your opponent didn't threaten a KO, so you got nothing for that trade except a tiny HP buffer that didn't matter.
The correct mental model is threat-based, not bar-based. Ask: "Can my opponent KO me next turn without this recovery?" If yes, Recover. If no, attack, set up, or support instead. Saving Recover for the moment it actually prevents a KO is the difference between a wall that applies continuous pressure and a wall that just stalls its own turns.
Doubles overconfidence: the double-targeting scenario.
If both opponents can and will target you, using Recover at 45% HP is usually a mistake. Combined damage from two attackers easily exceeds 55%, which means the 50% recovery doesn't save you — you get knocked out anyway after recovering. In this scenario, the correct move is switch out or go for the aggressive play, not a recovery that gets overrun. The diagnostic question: can the two opponents together deal over 50% this turn? If yes, Recover doesn't clear the bar; switch instead.