








What it does
Bullet Punch is a Steel-type physical move with 40 base power, +1 priority, and 100% accuracy. Priority +1 means it fires before the opponent regardless of Speed — unless they're running a higher-priority move or a priority-blocking effect is live.
Technician is the whole reason this move is viable. Moves at or below 60 base power get ×1.5 under Technician, taking Bullet Punch from 40 to 60 effective power. Combine that with STAB (×1.5), and the output is equivalent to a 90-power move — that just always goes first. Add Metal Coat for another ×1.2 and the numbers get serious from something that looks negligible on paper.
A worked number to anchor the range: An Adamant Scizor with 32 Attack Stat Points, no item, hits a medium-bulk physical target (roughly 200 Defense / 135 HP at Lv50) for about 35–45% HP unboosted. At +2 from Swords Dance, that doubles to 70–90%, so a single damage roll can close out the KO. That's the key threshold — after one Swords Dance, the majority of non-resisting targets fall inside priority range. Metal Coat (×1.2) pushes the unboosted ceiling up by roughly 12 percentage points, which moves several "95% HP" targets into clean KO probability. [[widget:turn-order]]
Priority gets blocked in specific ways: Psychic Terrain (Psychic Surge), Armor Tail (Farigiraf), and Queenly Majesty all suppress priority moves. Under these effects, Bullet Punch goes last, not first.
Who runs it
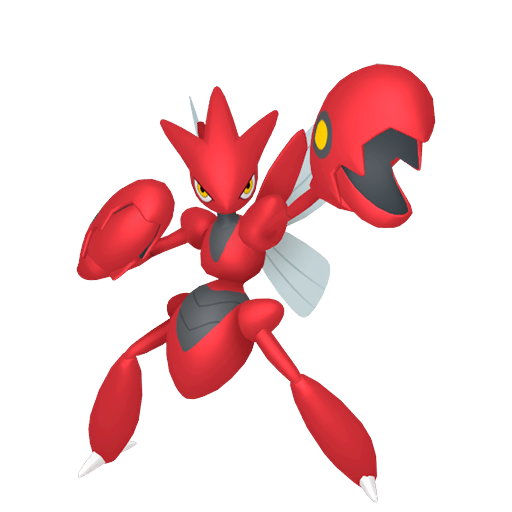
Scizor / Mega Scizor — nearly every Scizor set runs this. Technician is standard; Metal Coat is the most common item on non-Mega sets, Adamant nature, 32 Attack Stat Points. The doubles gameplan usually orbits around reading a Protect or forced-switch turn to get Swords Dance, then sweeping with Bullet Punch — the entire sequence denies the opponent any window to respond. Mega Scizor via Omni Ring and Mega Stone bumps base Attack to 150, which raises Bullet Punch's KO range substantially across the board.
Lucario / Mega Lucario — singles Lucario almost always carries Choice Scarf to cover Speed, so Bullet Punch covers two specific cases: the Scarf locked on the wrong move with no safe switch, and late-game cleanup against weakened targets the Scarf couldn't reach cleanly. Mega Lucario doesn't need item support, so Bullet Punch functions as a proper offensive tool with 145 base Attack behind it.
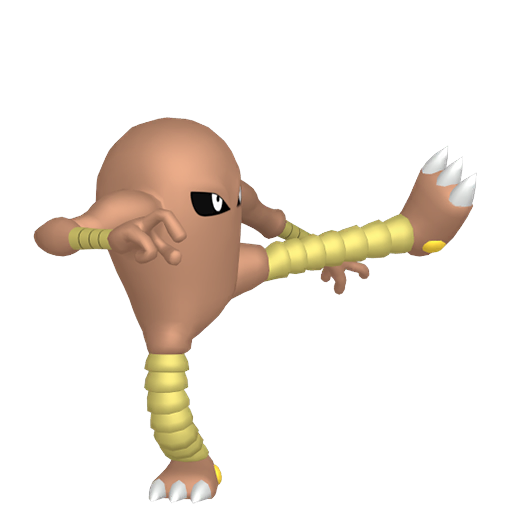
Machamp — primarily runs No Guard plus Dynamic Punch for doubles disruption, but roughly 35% of sets include Bullet Punch. The concrete use case: when a Steel or Fairy target has been whittled down, switching off Dynamic Punch to finish with priority is cleaner and safer than taking another contact hit or risking the wrong target.
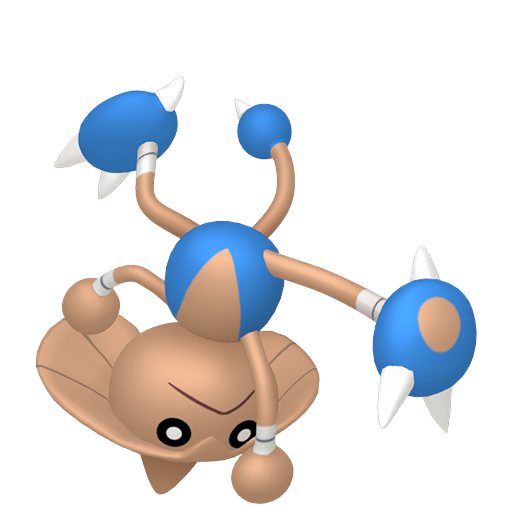
Medicham — Pure Power creates enormous effective Attack. After Fake Out resources are spent, Bullet Punch is the most efficient late-game option to pick off weakened targets without burning another turn on setup.
How to use it
Calculate the KO before committing. Before throwing Bullet Punch, judge whether the target's current HP actually falls in range. If yes, take the free KO and free your partner for something else that turn. If no, use a different move to chip further and wait. Playing "priority whenever available" rather than "priority when it actually finishes" is the gap between controlled aggression and burning turns.
Singles rhythm: Choice Scarf revenge killing covers healthy, faster threats. Bullet Punch fills the gap when the Scarf is locked on the wrong move, or in late-game where most remaining targets are low enough to be priority-finished without needing the Scarf's Speed advantage.
Doubles turn sequence example:
- Turn 1: Partner (e.g. Incineroar) uses Fake Out to flinch Target A; Scizor uses Swords Dance against a Target B that can't touch it while A is flinched.
- Turn 2: Scizor fires Bullet Punch to KO a weakened target; partner handles Target A or repositions.
That two-turn window gives the opponent essentially zero counterplay — Fake Out neutralizes one slot, Swords Dance goes up safely, then priority cleans. The whole sequence runs on initiative.
Trick Room flips the decision completely. Under Trick Room, the +1 priority tag inverts — Bullet Punch goes last, not first. Scizor at base 65 Speed is already middling, and losing priority means it's suddenly the slowest attacker on the field. If TR is up and you can't remove it, drop Bullet Punch and look for a Swords Dance turn to reload for when TR expires. Accounting for this at team preview, rather than mid-game, is the correct approach.
Tips & strategy
Beginners most commonly waste Bullet Punch into Psychic Terrain. The terrain suppresses priority on grounded targets — Bullet Punch fires last, not first, and the opponent usually retaliates cleanly. The fix is tracking terrain turns out loud in your head: when Indeedee appears, count turns. If you're uncertain whether terrain is active, Protect or switch rather than gambling a turn. This mistake costs full turns and tempo at a point in the game where both are critical.
Ghost types are not immune — but Steel resists are real. Bullet Punch is Steel-type, not Normal or Fighting, so Ghost types take neutral damage. The actual resist list to track: Steel, Water, Electric, and Grass types all take 0.5× damage. Against those targets, Bullet Punch hits significantly less hard and often won't secure a KO that seemed in range — switch to a different coverage move rather than trying to force it.
Armor Tail on Farigiraf is a named counter worth planning for. It blocks all priority moves for the team as long as Farigiraf is on the field. When it's live, your entire priority-based strategy goes offline. The immediate question becomes whether you can knock out Farigiraf in a single non-priority hit; if not, the pace of the game shifts and you need a backup plan. Identifying Farigiraf at team preview and preparing a non-priority route is more reliable than hoping it goes down quickly mid-game.
Know the +2 Bullet Punch ceiling, not just "it hits hard." At +2, most non-resisting targets around 50% HP fall. Against a Steel-type resist, even +2 may land around 60–70% and still need partner support to finish. Building that estimate into your turn-by-turn thinking — rather than assuming +2 always closes — is what separates clean execution from wasted setup turns.